I.  love.  boxes.  so simple and so functional.  this particular box was born from a lack of cupboard space.  we live in an open plan loft which is beautifully-- open.  but, THERE ARE not a lot of shelves.  this box holds all our extra sheets, blankets, and pillows.  it also doubles as a window seat.  it was simple enough to build in ONE afternoon on the floor of the loft.  all the materials can be purchased from the home depot.  


SUPPLY NAME:     13 @ 1"x4"x6' FIR BOARDS

SUPPLY NAME:     1 @ 2"x4"x8' 

SUPPLY NAME:     3/4" PLYWOOD

SUPPLY NAME:     2" FINISH SCREWS

SUPPLY NAME:     1" DRYWALL SCREWS

SUPPLY NAME:     POLYCRYLIC (OR OTHER PROTECTIVE AGENT)

TOOL NAME:     CHOP SAW

TOOL NAME:     POWER DRILL

TOOL NAME:     CIRCULAR SAW

TOOL NAME:     JIGSAW


blanket box exploded

blanket box 01

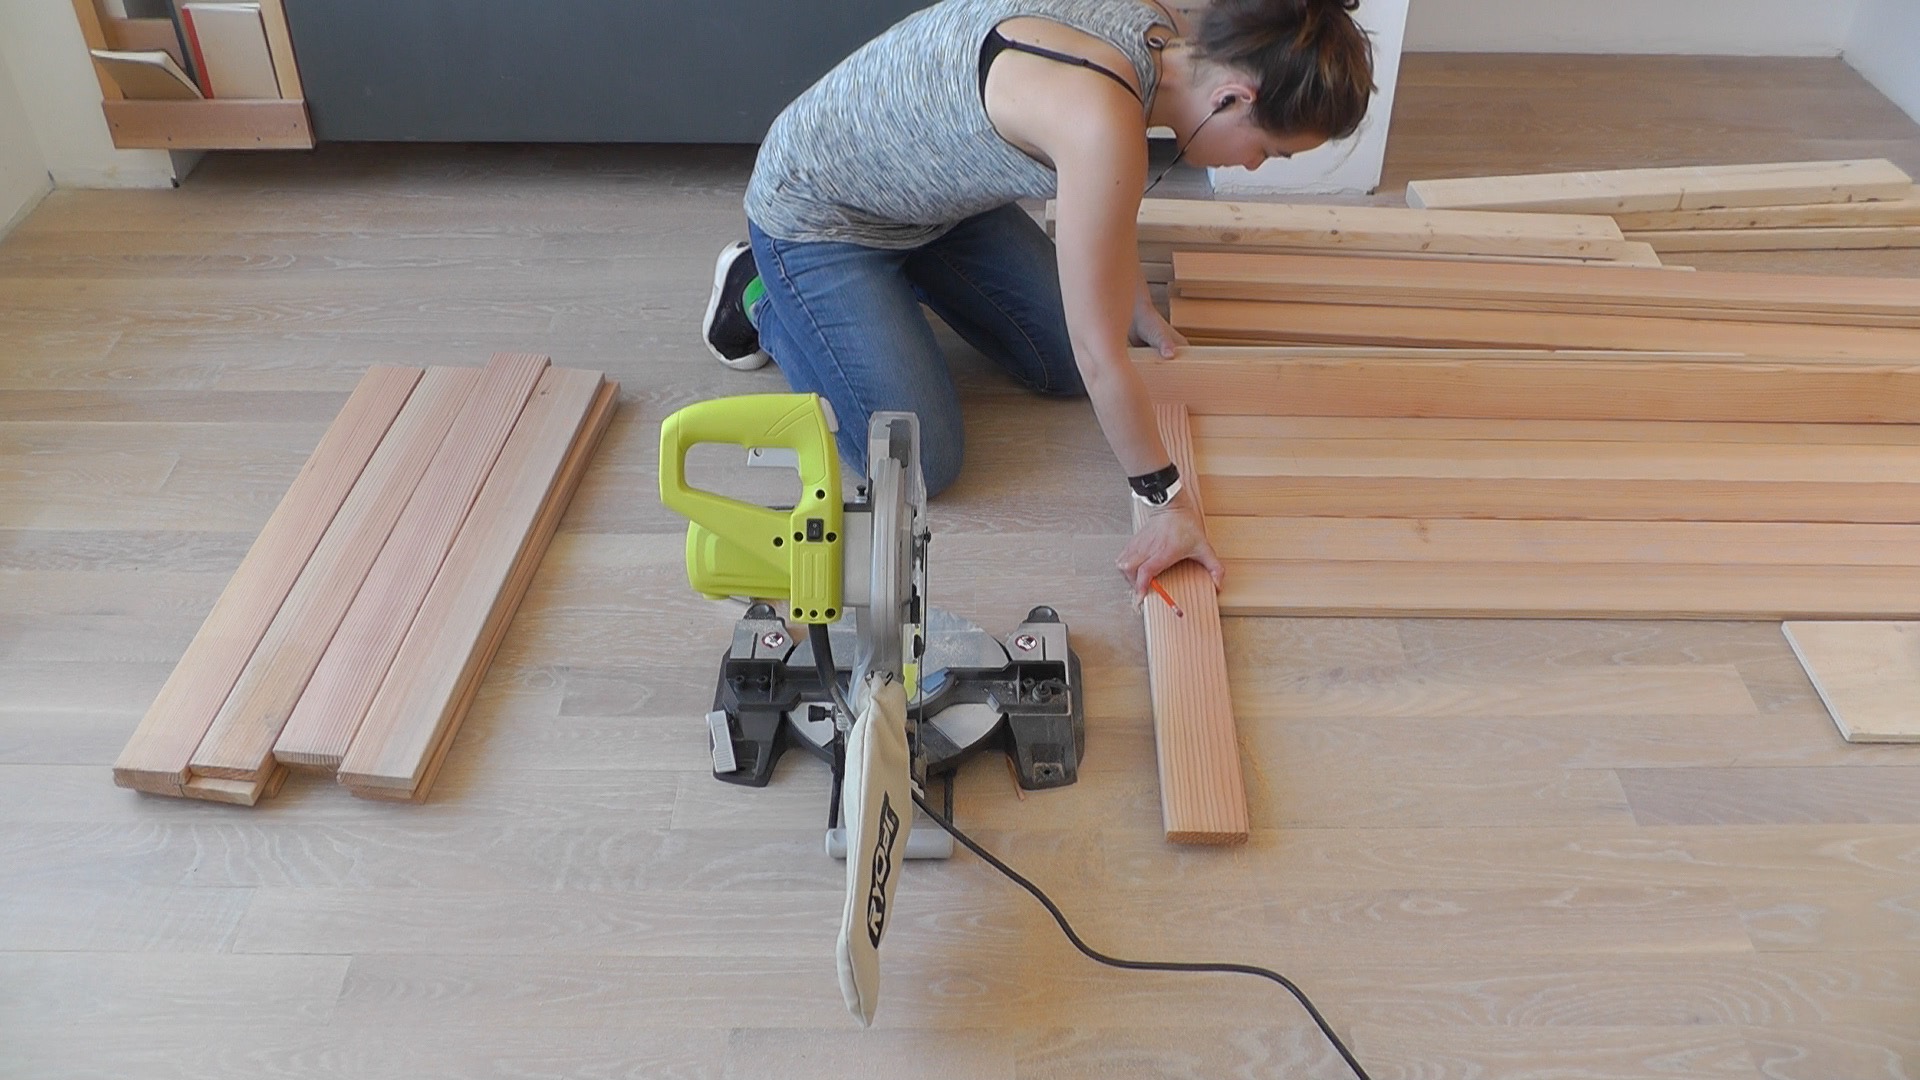
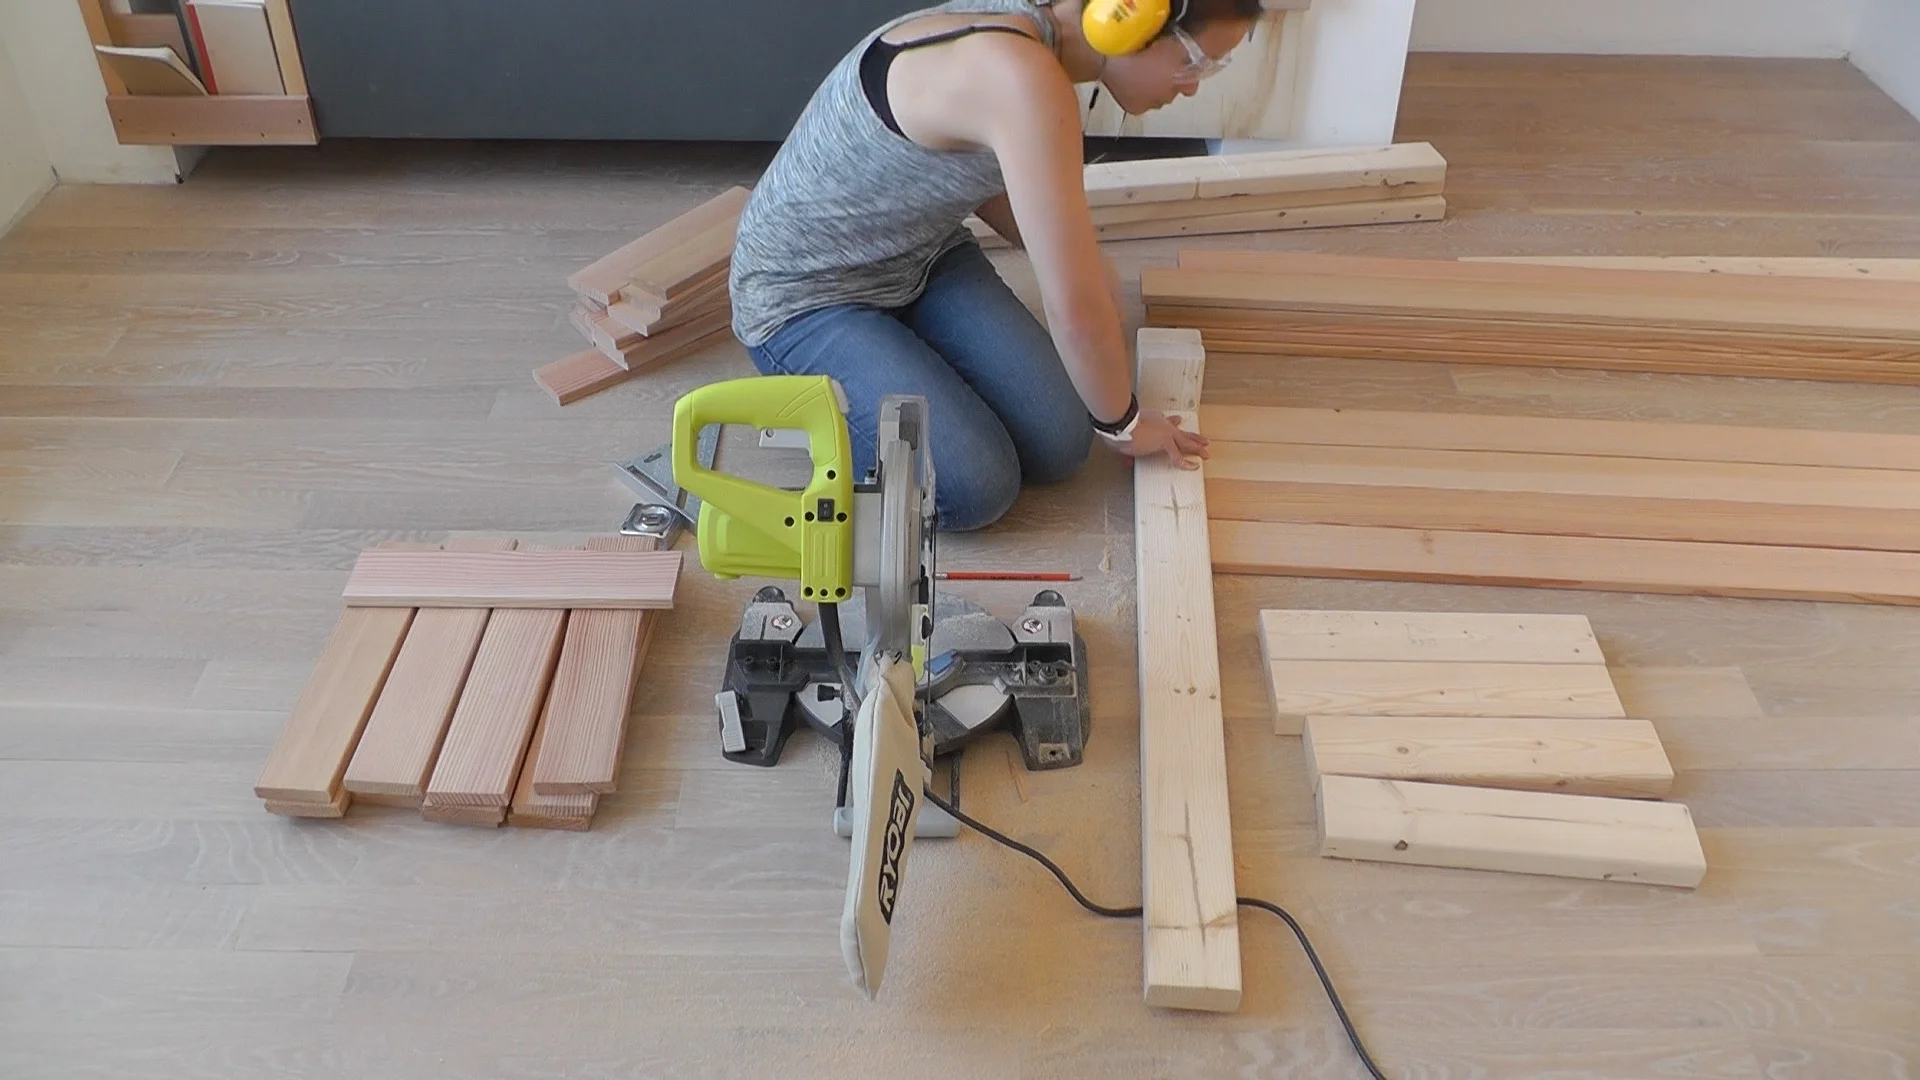
step 01:     use a chop saw to cut the 1x4s to the length that you want the finished box to be.  i cut mine at 5'6" but do whatever works for you.  i used 13 boards: four for eITHER side and five for the top.

 
blanket box 02

step 02:     to figure out how long the end pieces need to be, line up five of the 1x4s to mimic the width of the lid

 
blanket box 03

step 03:     stand two of the 1x4s on top of the five that you just laid out.

 
blanket box 04

step 04:     hold a 1x4 cut-off up to the two standing on end.  that will be the length that you need for the ends of the boxes.  mark a line right at the point that the board hangs over the edge.

 
blanket box 05

step 05:     cut the first 1x4 on the cut line you made in the previous step.  then use that piece to measure and cut the remaining seven pieces you will need for the ends of the box.

 
blanket box 06

step 06:     continue to use the same piece of 1x4 to measure and cut four pieces of 2x4.

 
blanket box 07

step 07:     to get the length for the remaining four pieces of 2x4, line up four 1x4s to mimic the side of the box.  stand two pieces of 2x4 on top.

 
blanket box 08

step 08:     similar to step 04, hold a 2x4 up to the two standing on end.  mark where it hangs off the edge on the other side and cut it with the chop saw.

 
blanket box 09

step 09:     use that piece of 2x4 to measure and cut the last three pieces.

 
blanket box 10

step 10:     use a sanding block to soften the edges and corners of all the pieces.

 
blanket box 11

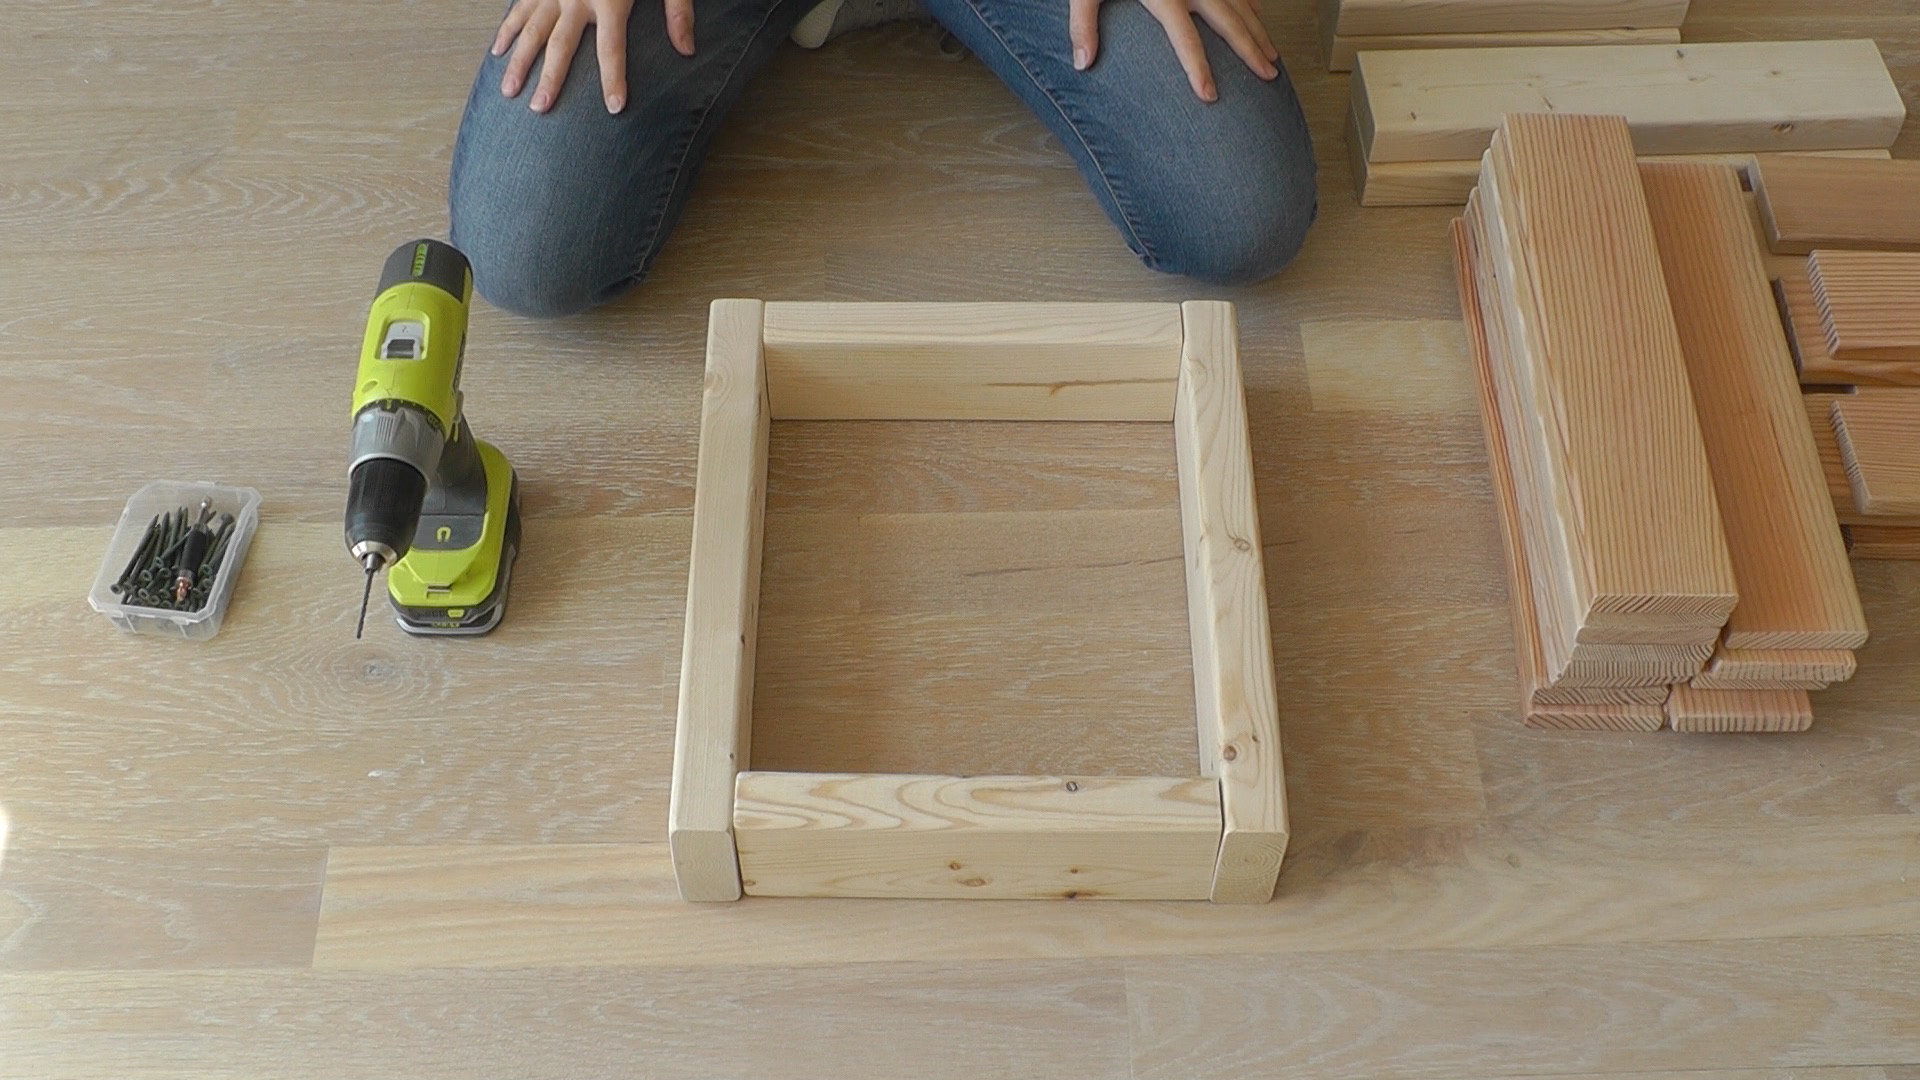
step 11:     the 2x4s will be used as end frames with the shorter pieces on the inside of the longer pieces.

 
blanket box 12

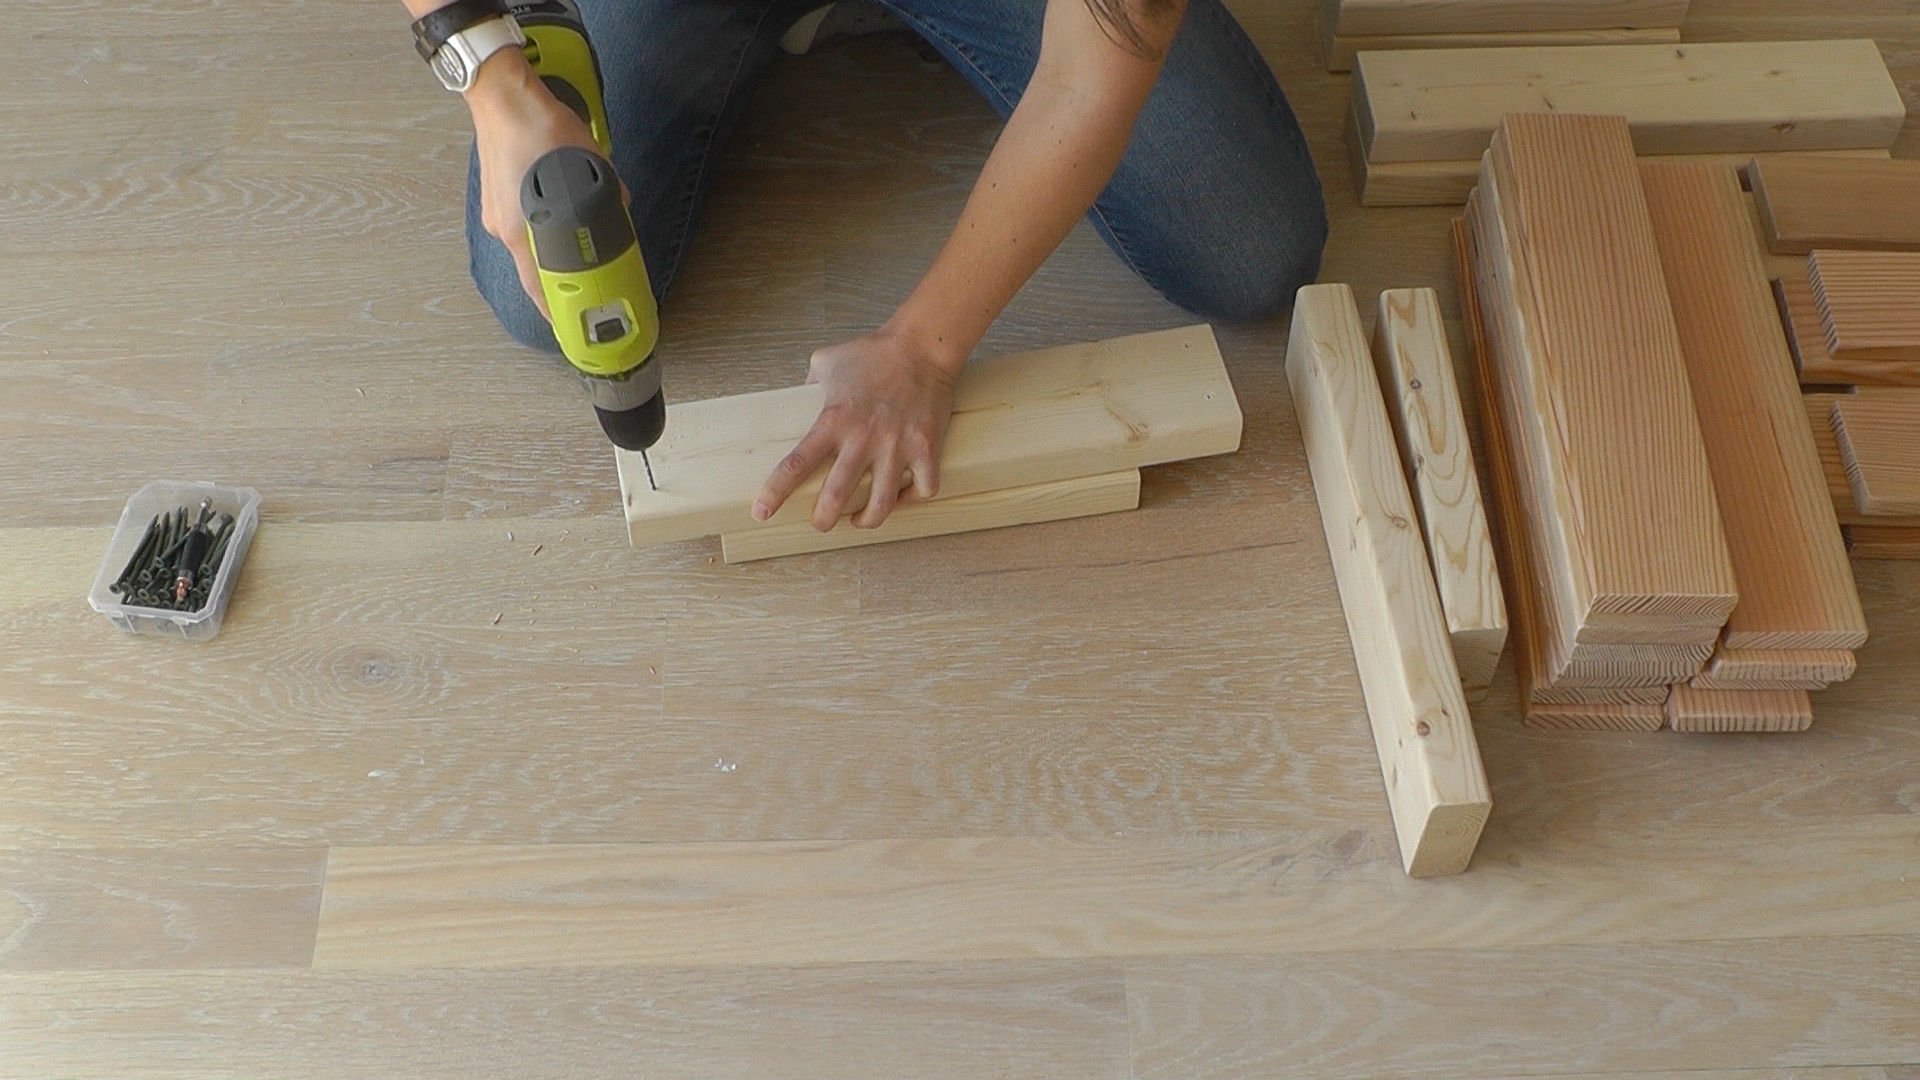
step 12:     pre-drill two holes in either end of the longer pieces.

 
blanket box 13

step 13:     attach to shorter pieces with screws.

 
blanket box 14
 
blanket box 15
 
blanket box 16

step 14:     line up 1x4 with the bottom of the end frame.

 
blanket box 17

step 15:     pre-drill two holes in either end of the 1x4.

 
blanket box 18

step 16:     attach with screws.

 
blanket box 19

step 17:     repeat steps 14-16 with the remaining end frame.

 
blanket box 20

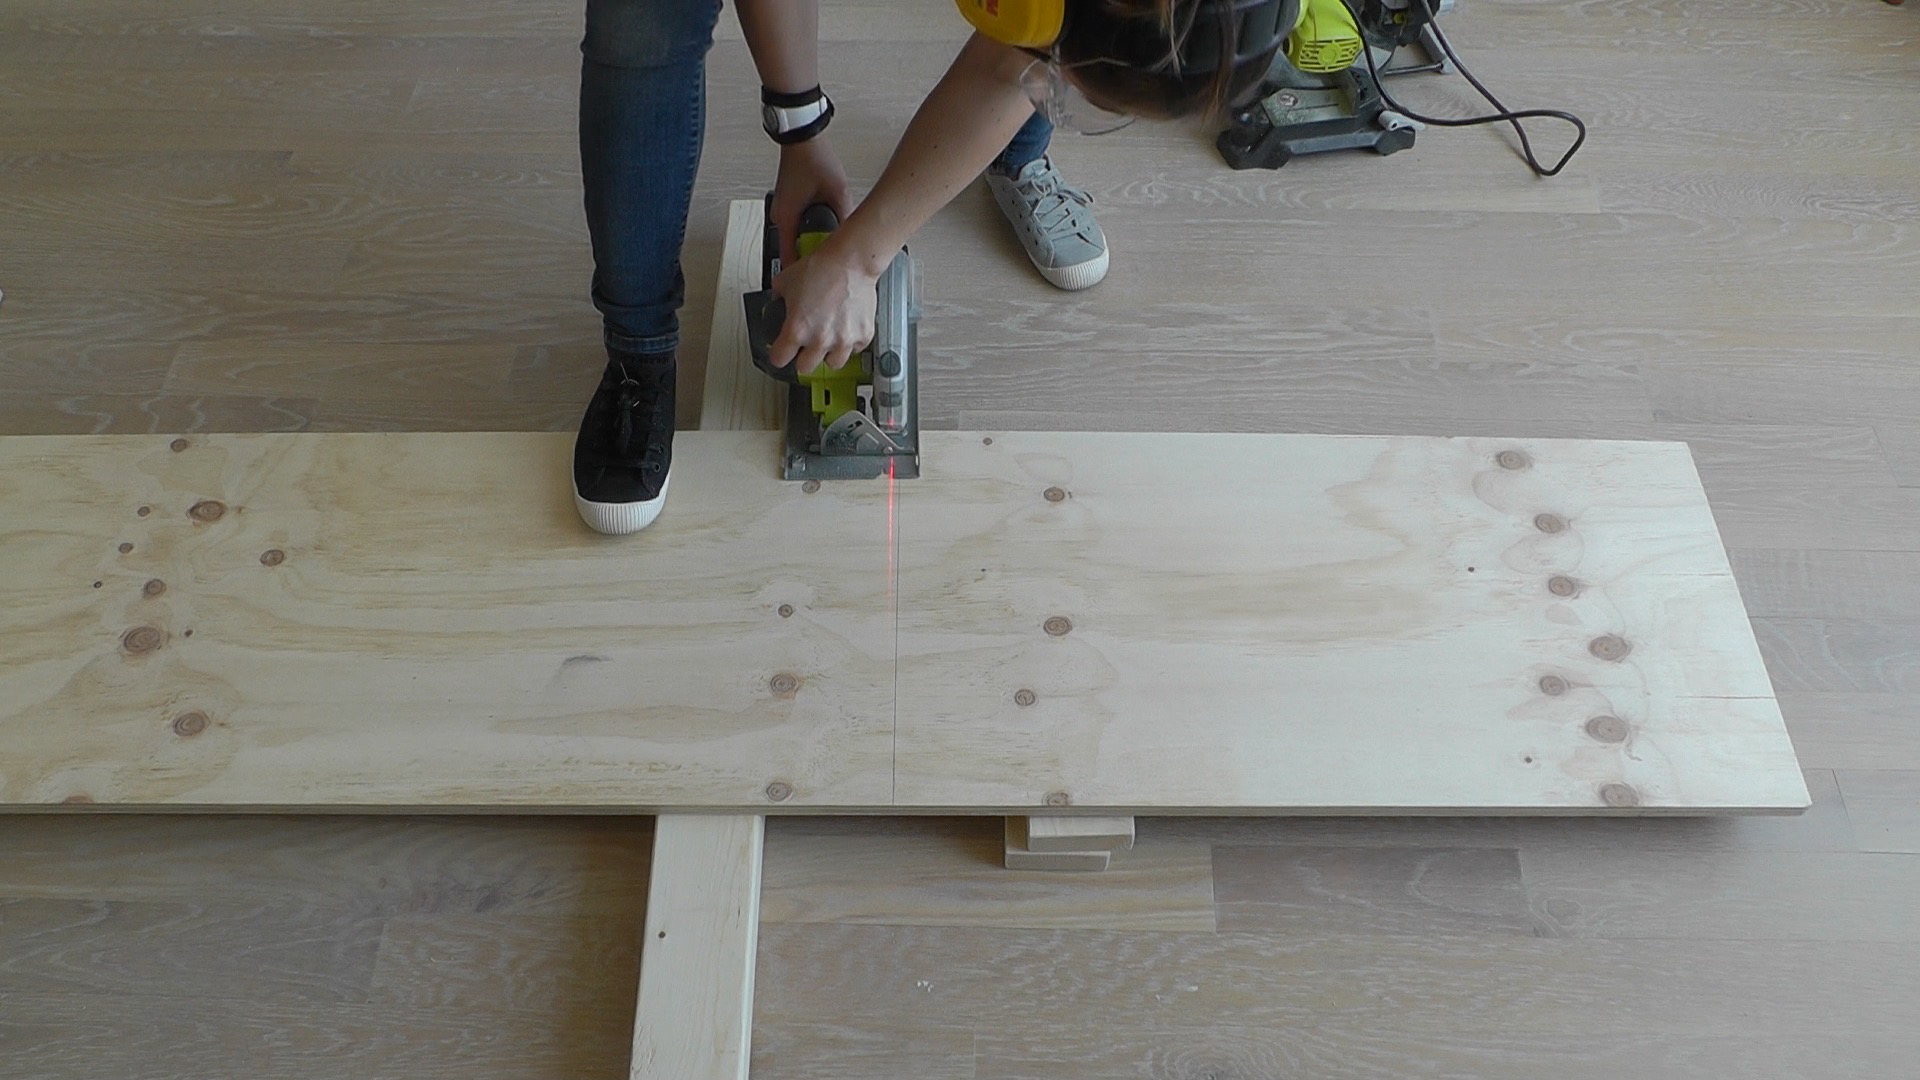
step 18:     to make the box bottom, i used some plywood that i happened to have. (mine was 3/4" but 1/2" is fine as well) cut it to the same width as the end frames and 1 1/2" shorter than the finished length of the box.

 
blanket box 21

step 19:     to make the plywood fit neatly inside the box, notch out all four corners with a jigsaw.  use a 2x4 scrap to draw cut lines.

 
blanket box 22
 
blanket box 23

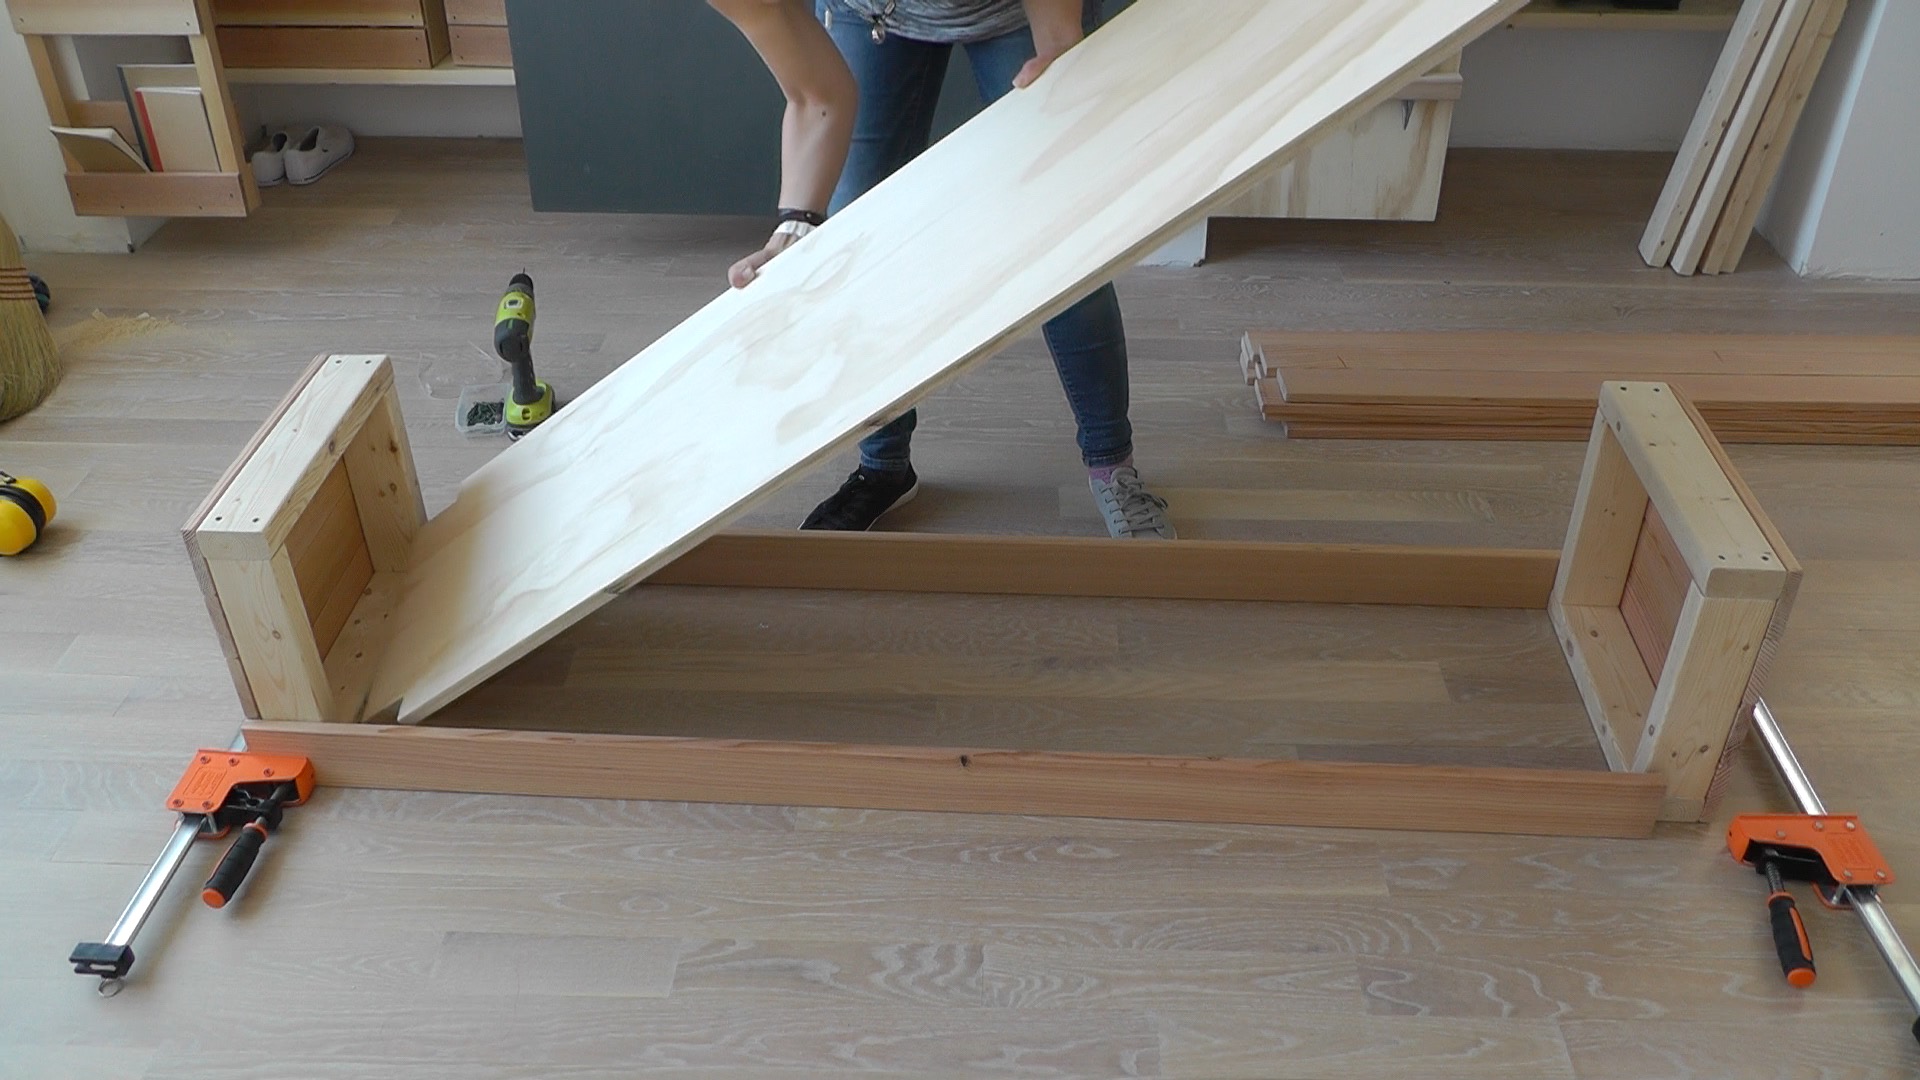
step 20:     clamp one 1x4 on either side of the end frame.  inset the plywood bottom and clamp on the opposite side.

 
blanket box 24
 
blanket box 25

step 21:     screw plywood to the bottom of the end frame.

 
blanket box 26
 
blanket box 27

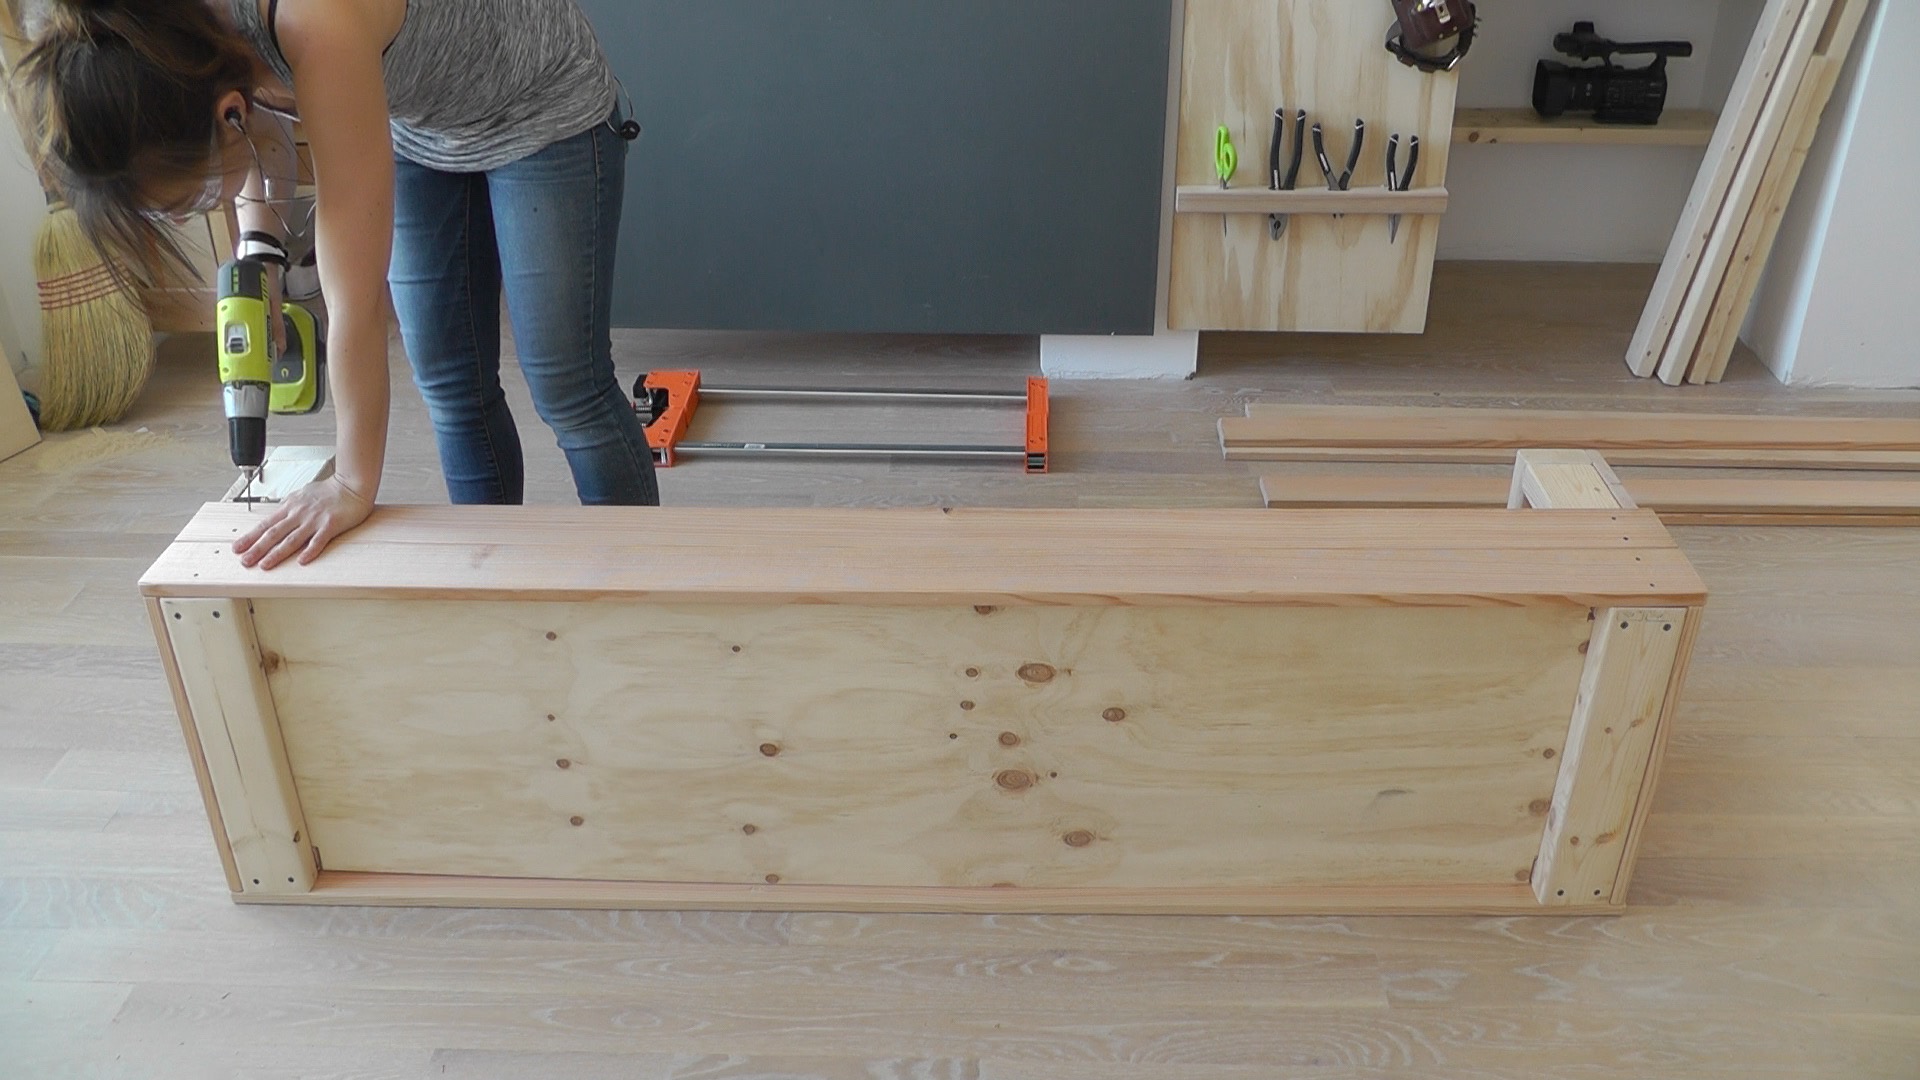
step 22:     as with the end frames, start on one side with the 1x4s.  pre-drill two holes in either end and attach with screws.  repeat process on the opposite side.

 
blanket box 28
 
blanket box 29
 
blanket box 30

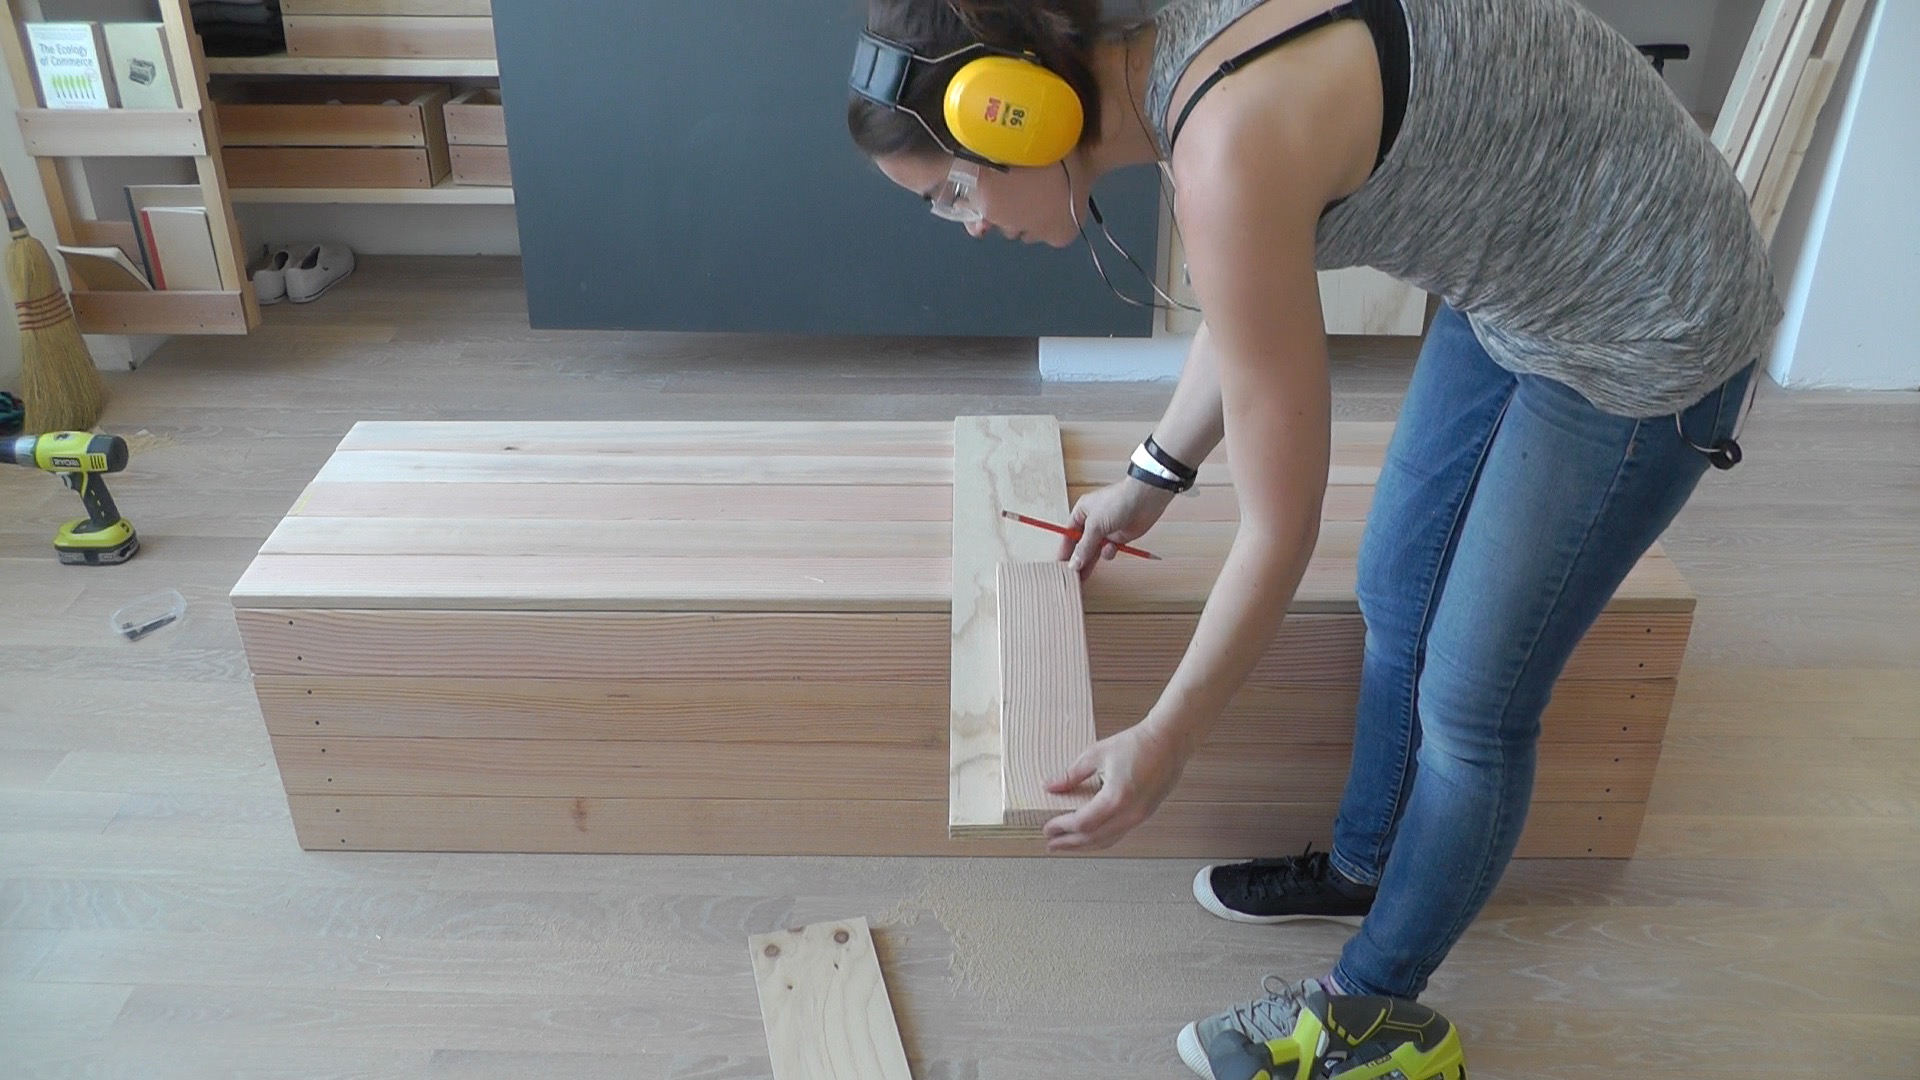
step 23:     using some other plywood scraps, i cut four pieces that would just fit in-between the two sides of the box.

 
blanket box 31
 
blanket box 32

step 24:     sand all the rough edges.

 
blanket box 33

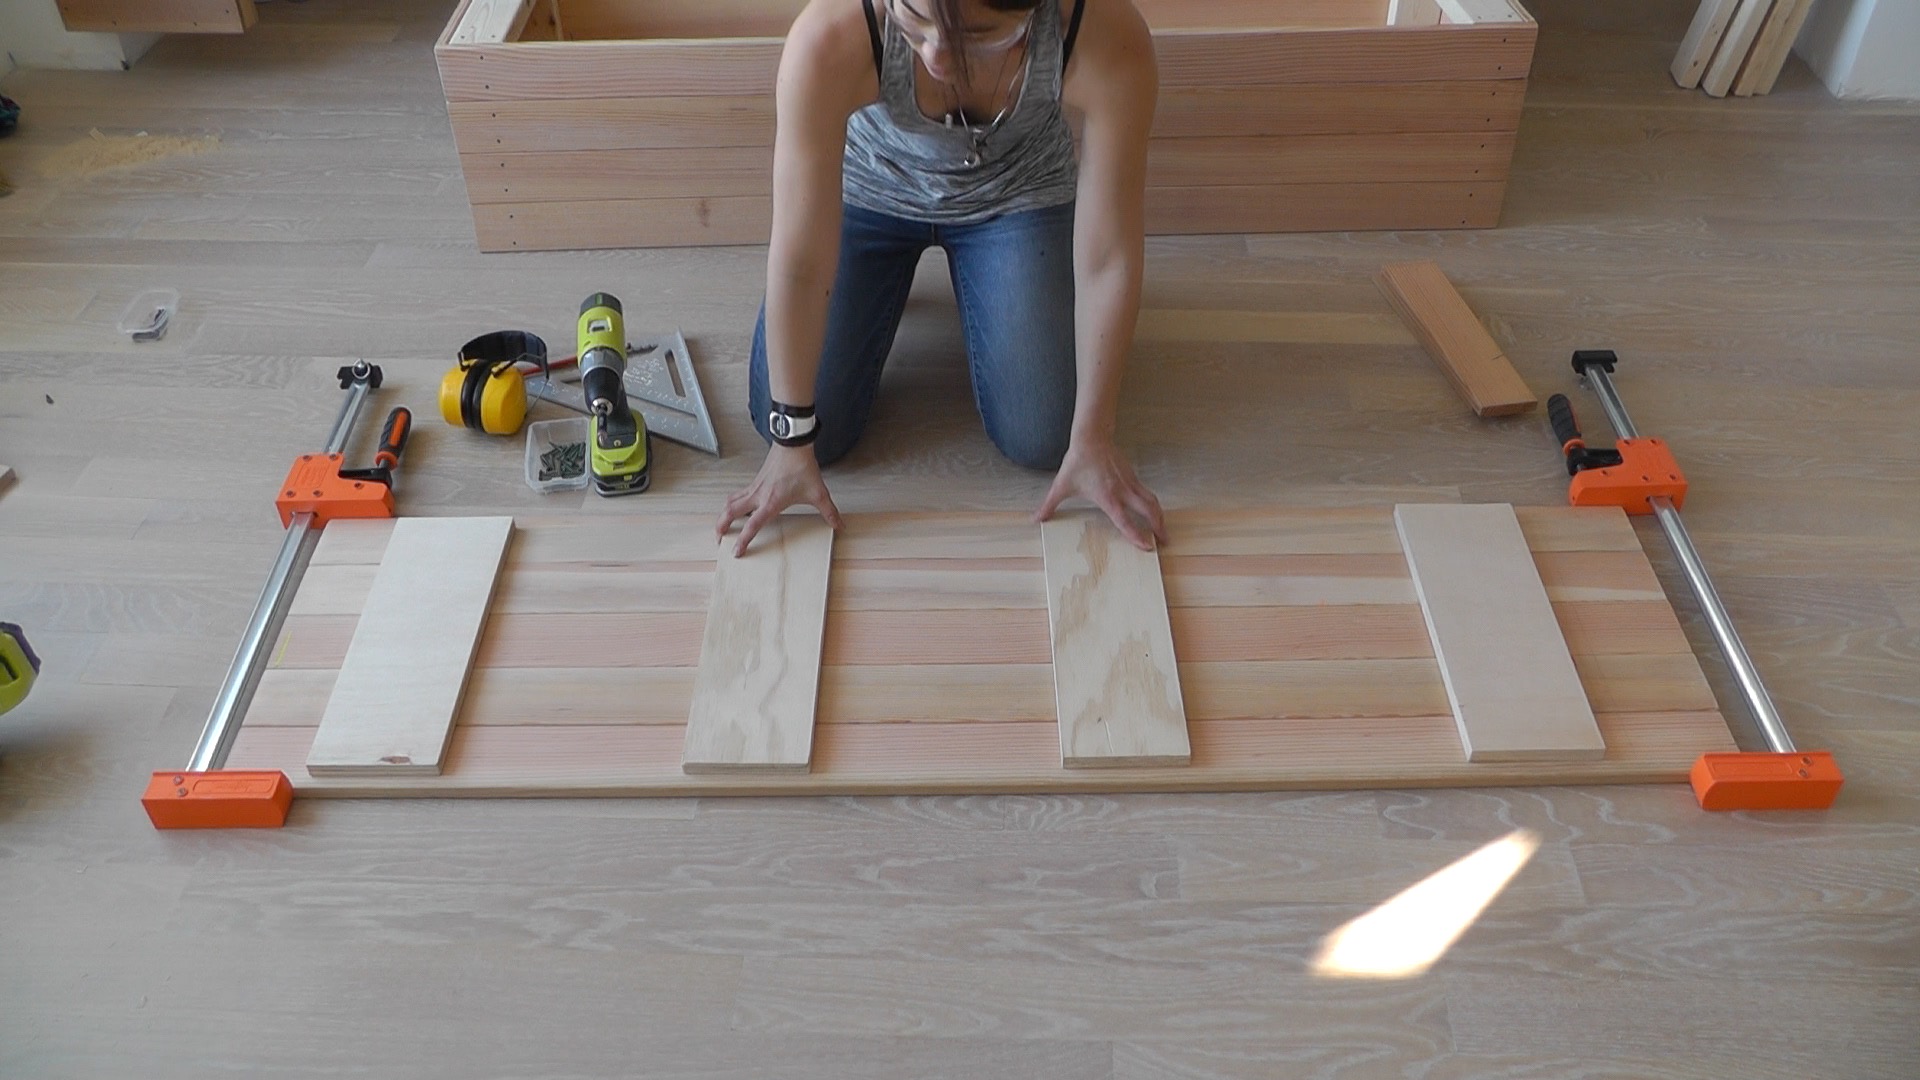
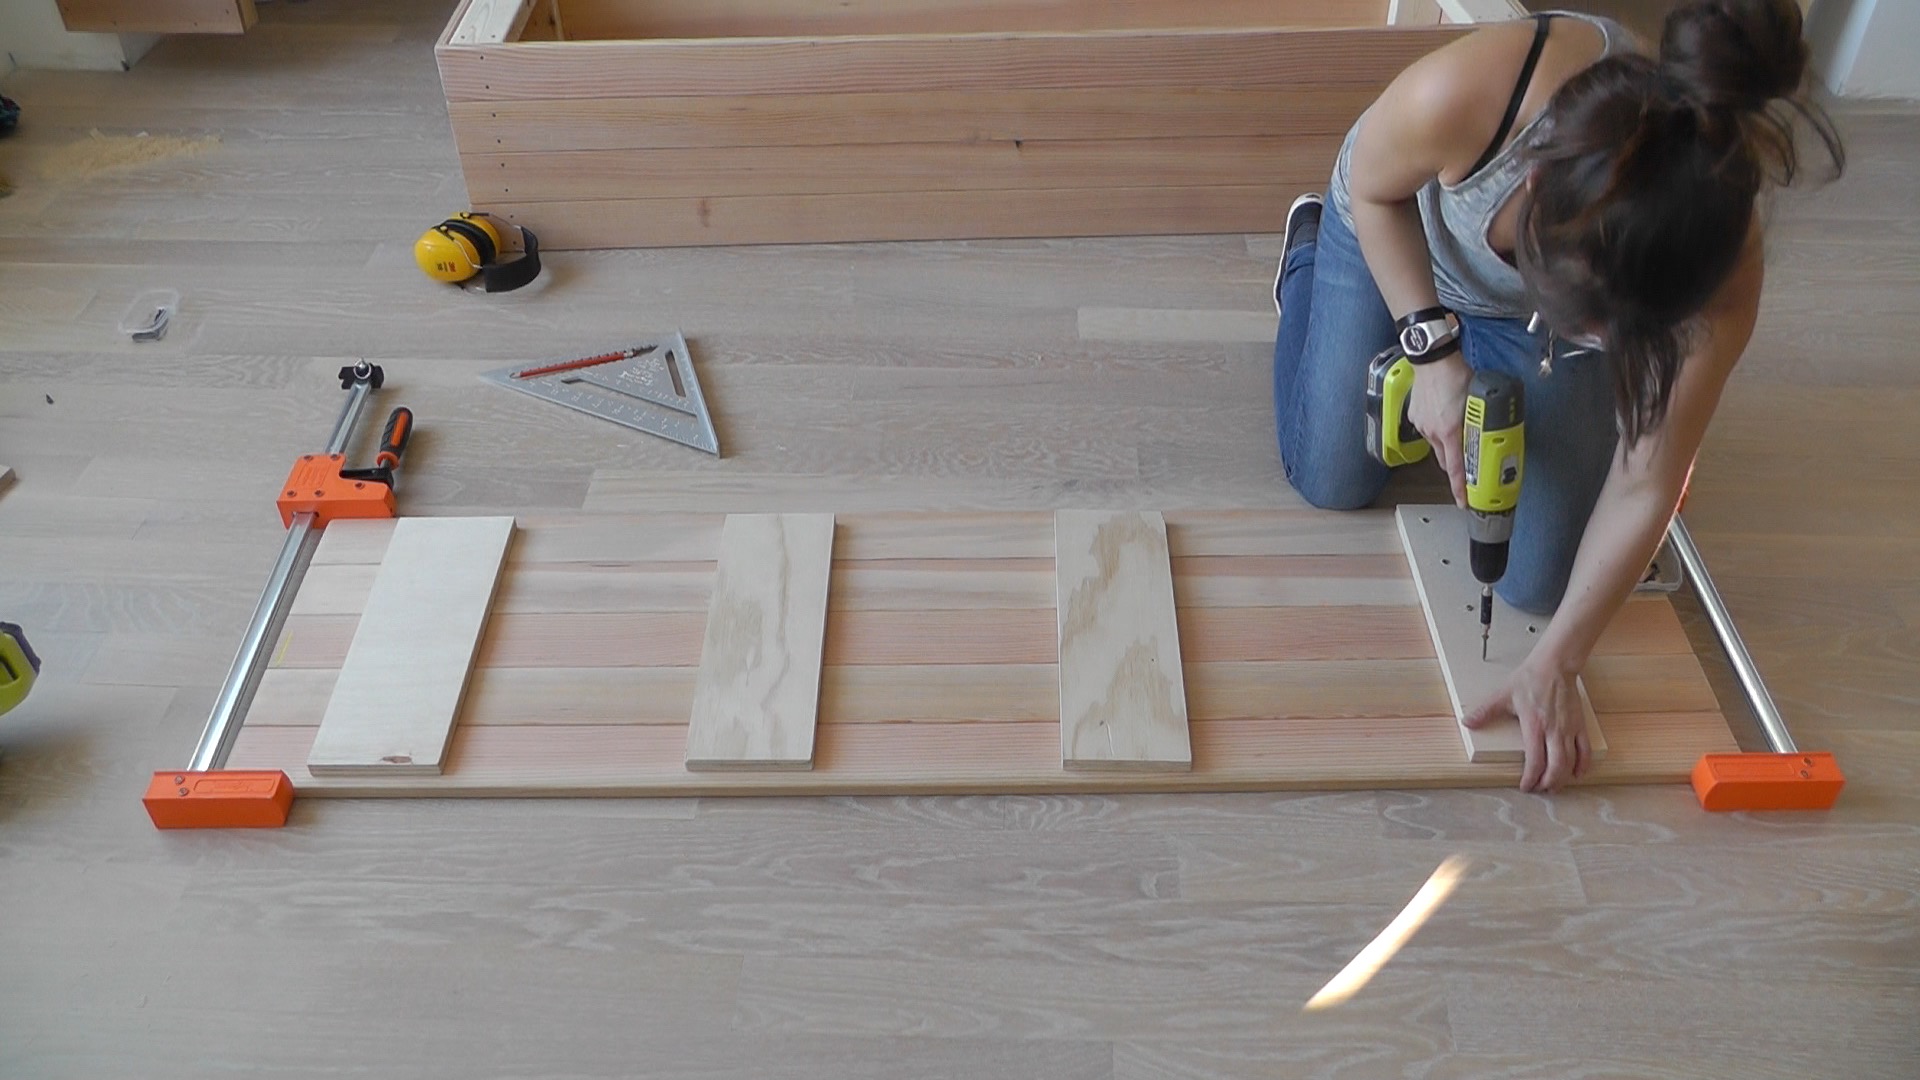
step 25:     lay out all the pieces for the box lid and clamp them together to keep them from drifting while attaching the plywood supports.

 
blanket box 34

step 26:     alternate the pattern of the screws and be sure to not screw into the seam between two boards.

 
blanket box 35

step 27:     coat the entire lid and box in a protective coating.  i used polycrylic, but you can use whatever you prefer.

 
blanket box 36

step 28:     admire your handiwork.


blanket box no lid
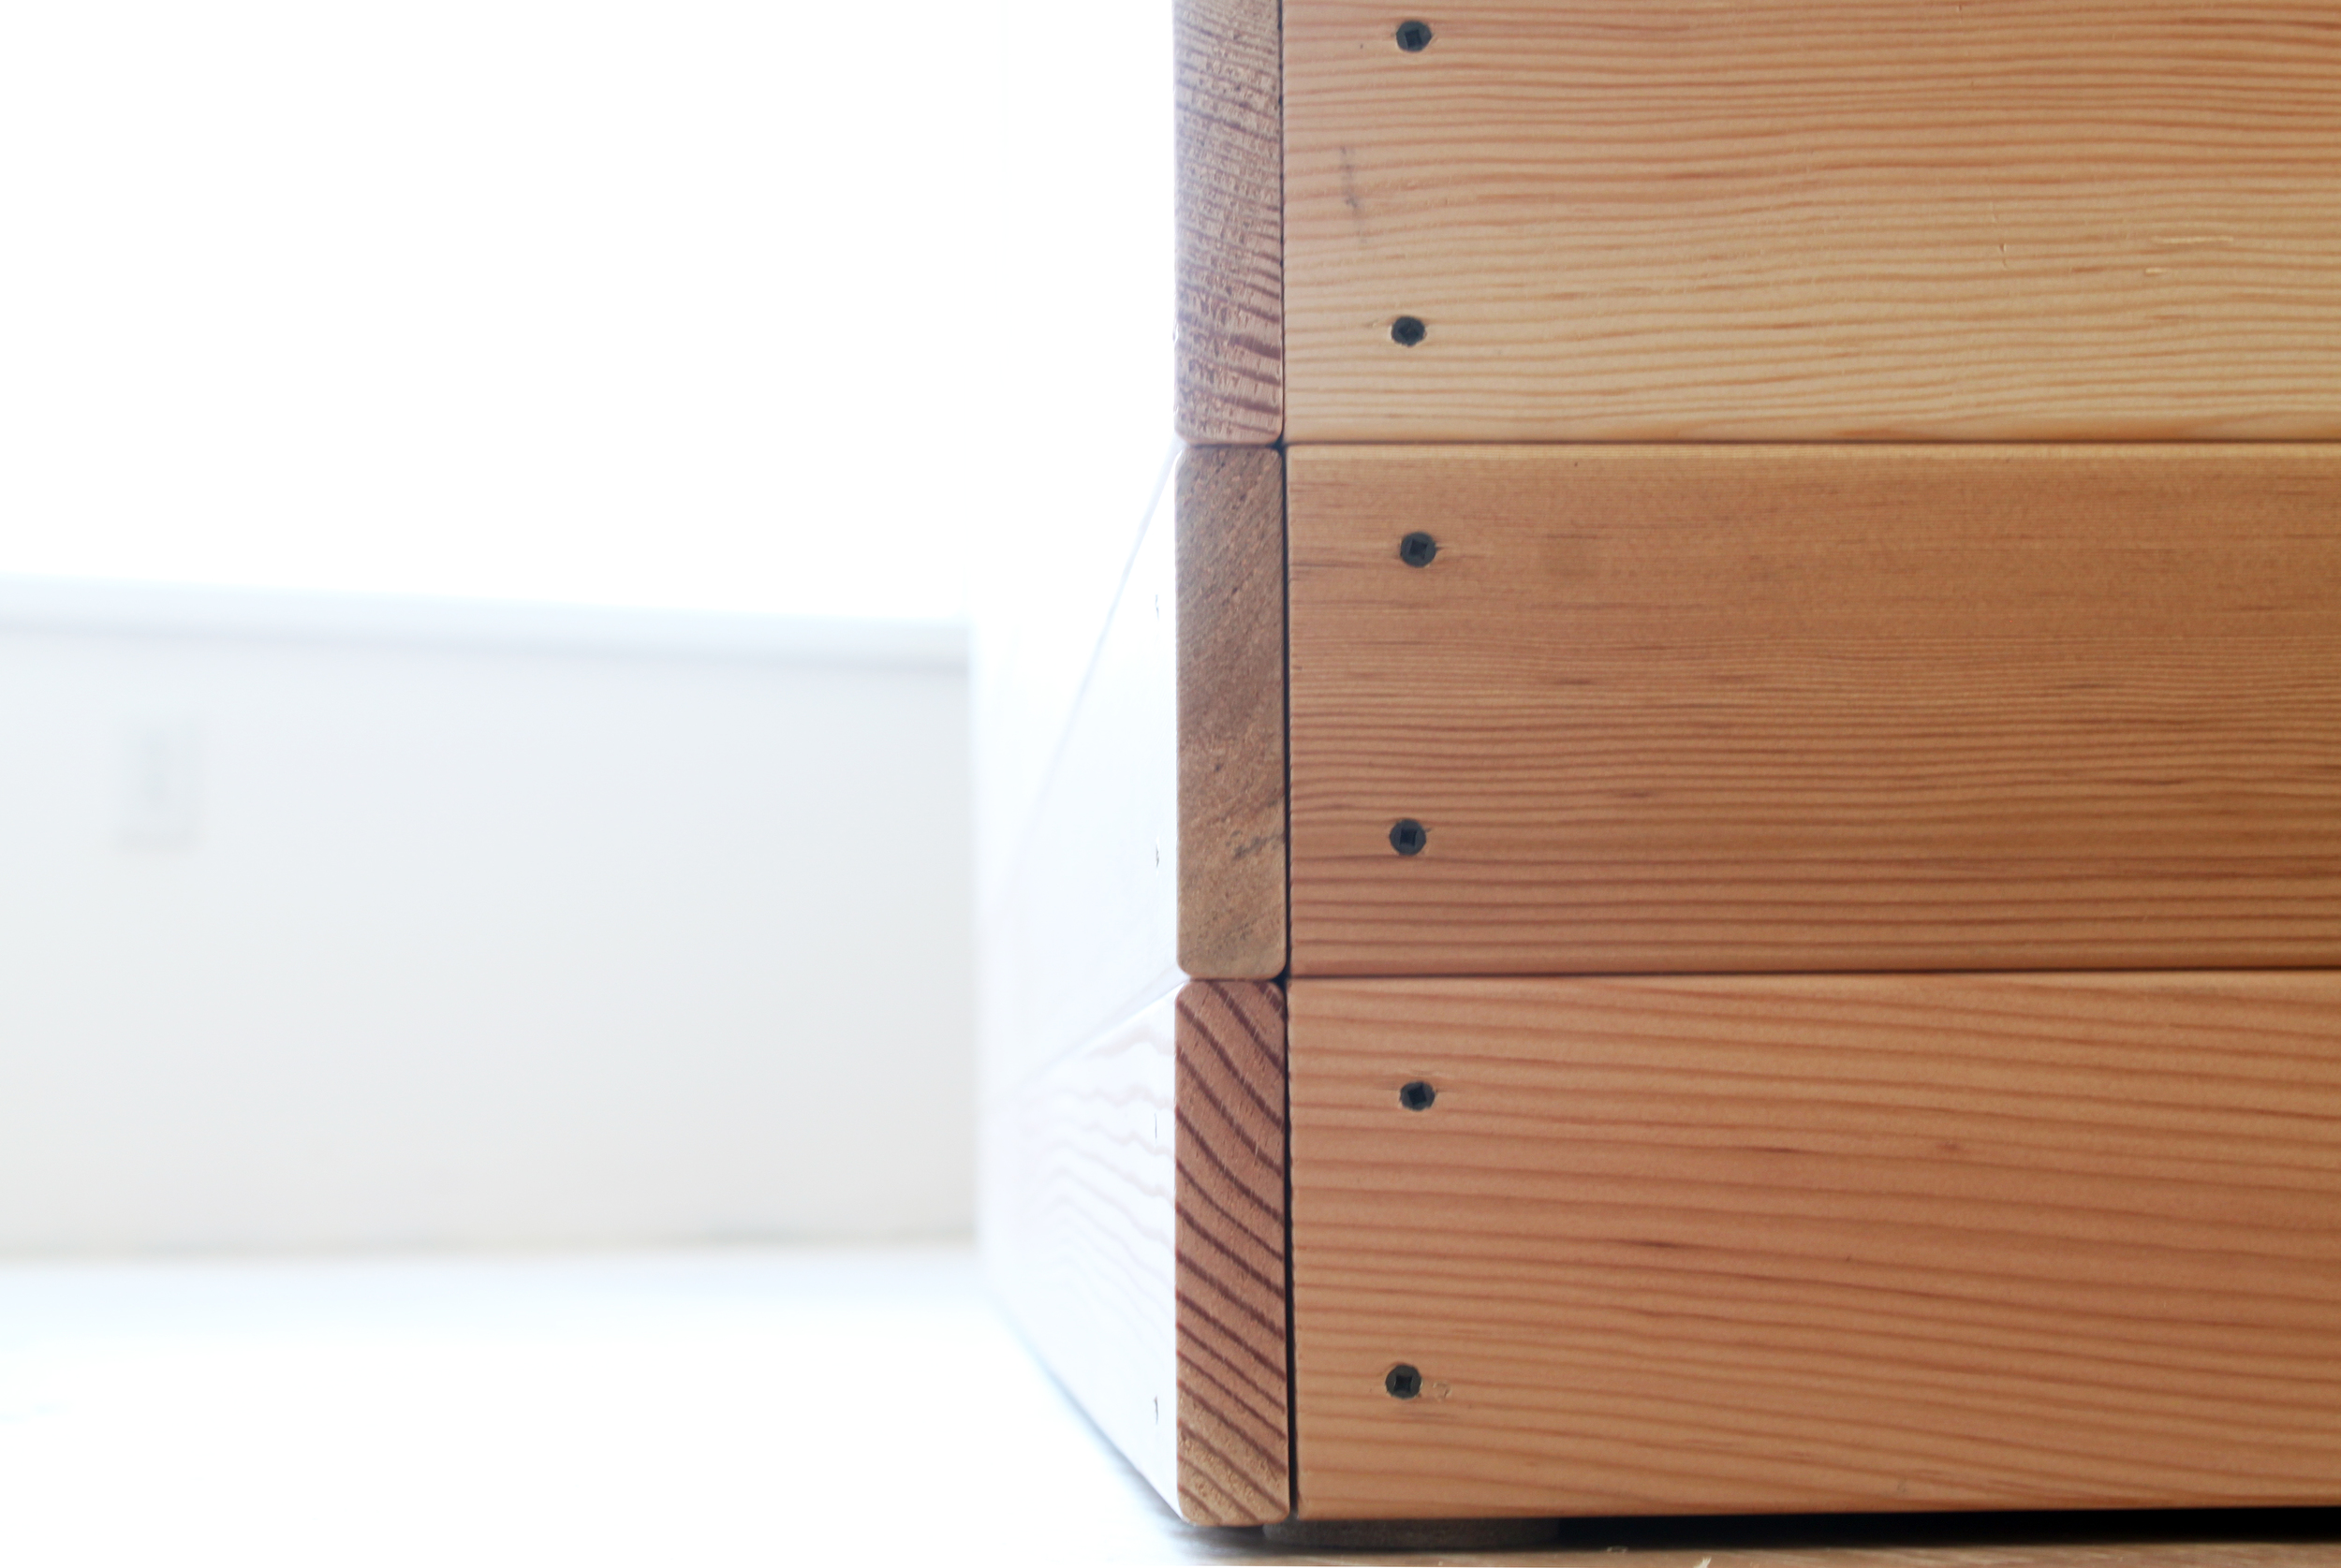
blanket box detail.jpg
blanket box seat
blanket box me