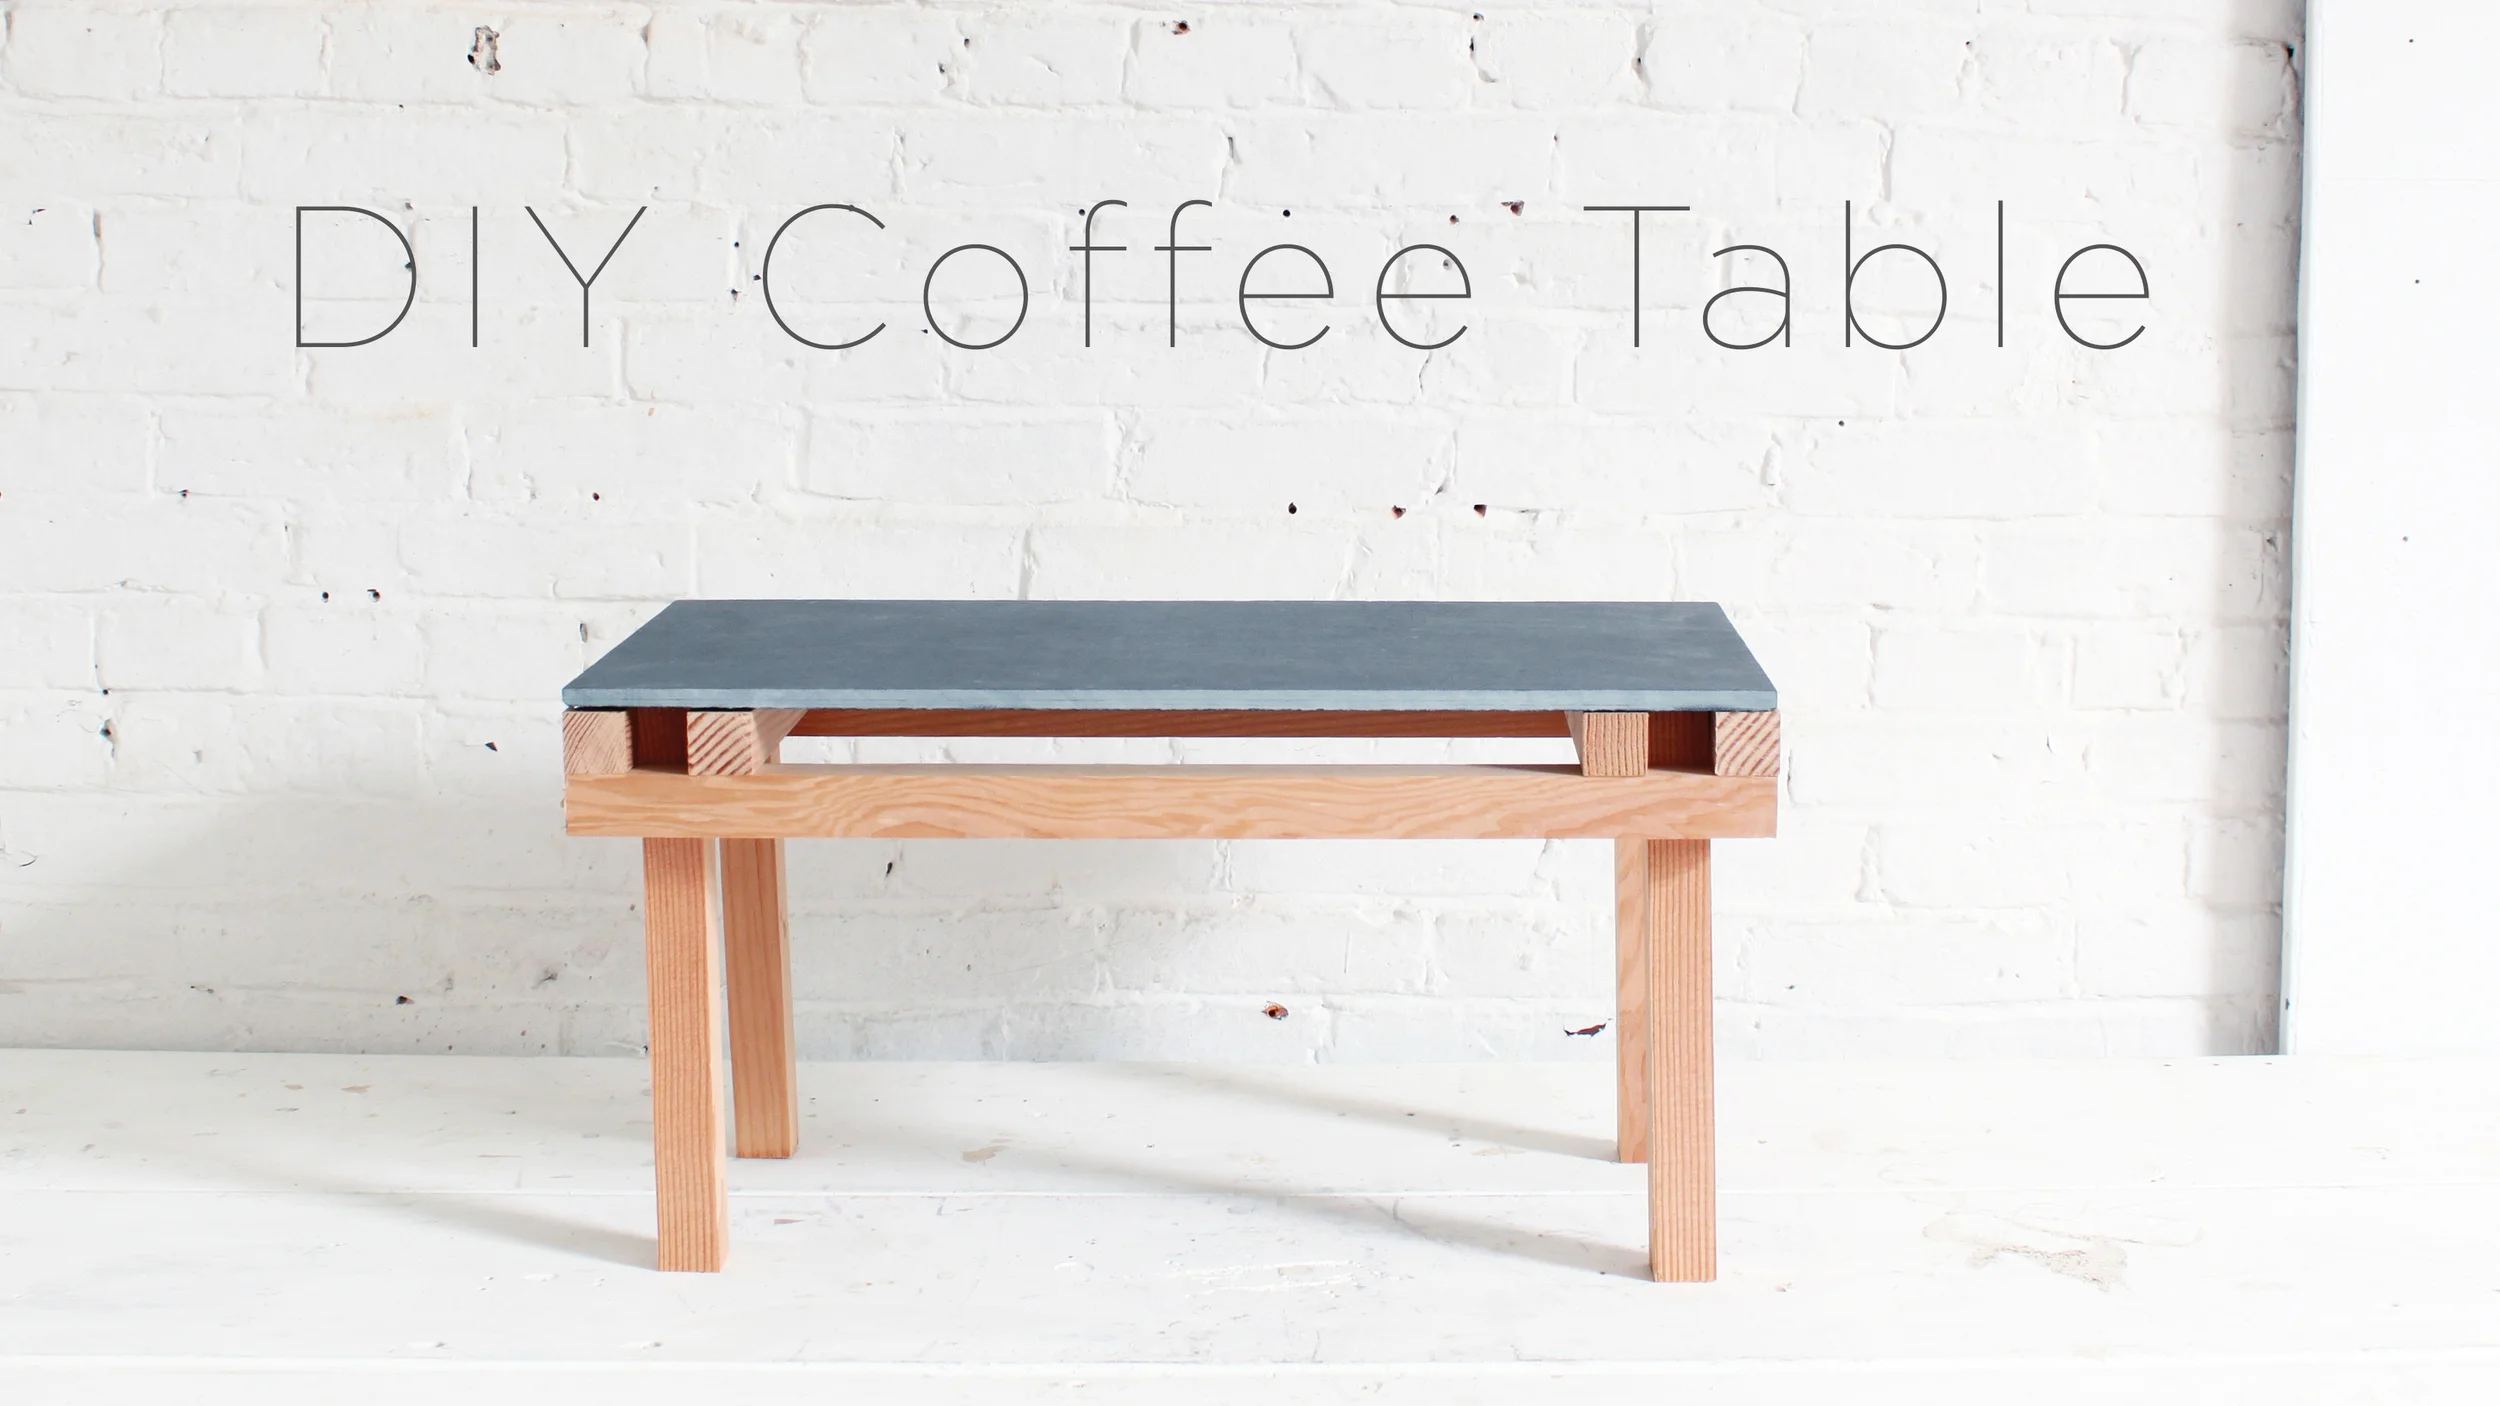
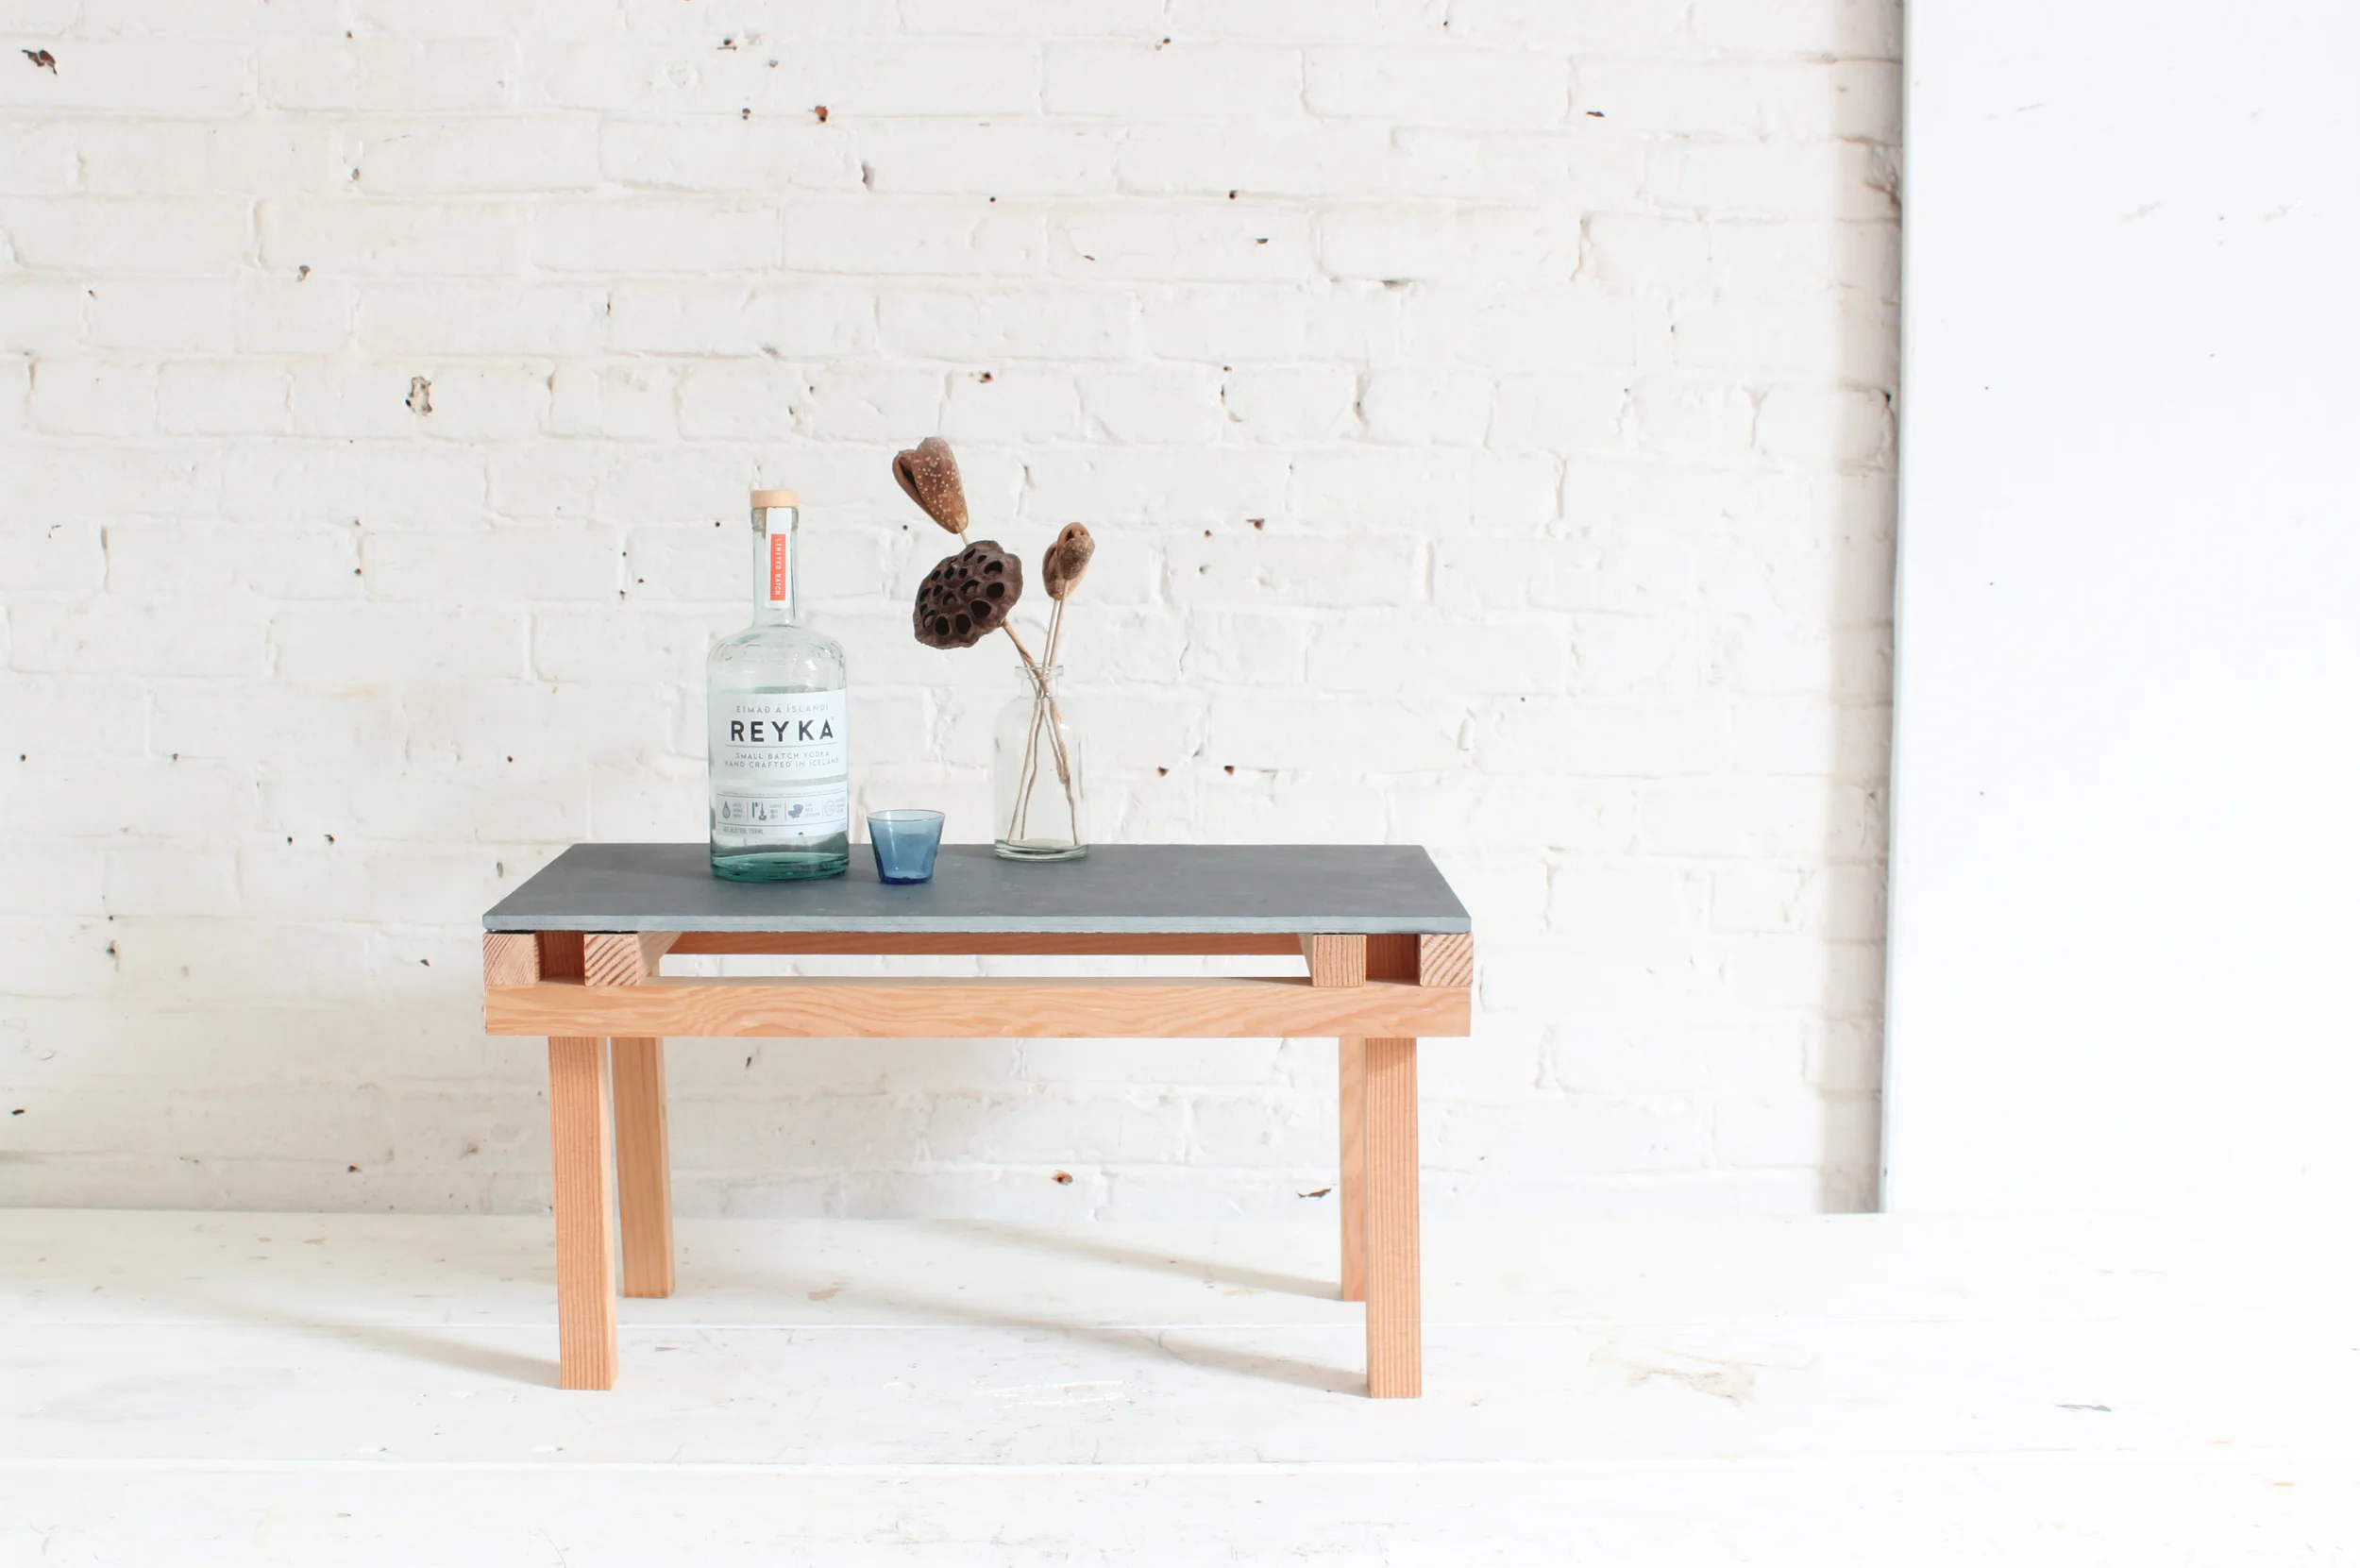
A sleek, multi-purpose table that works in any room of the house.
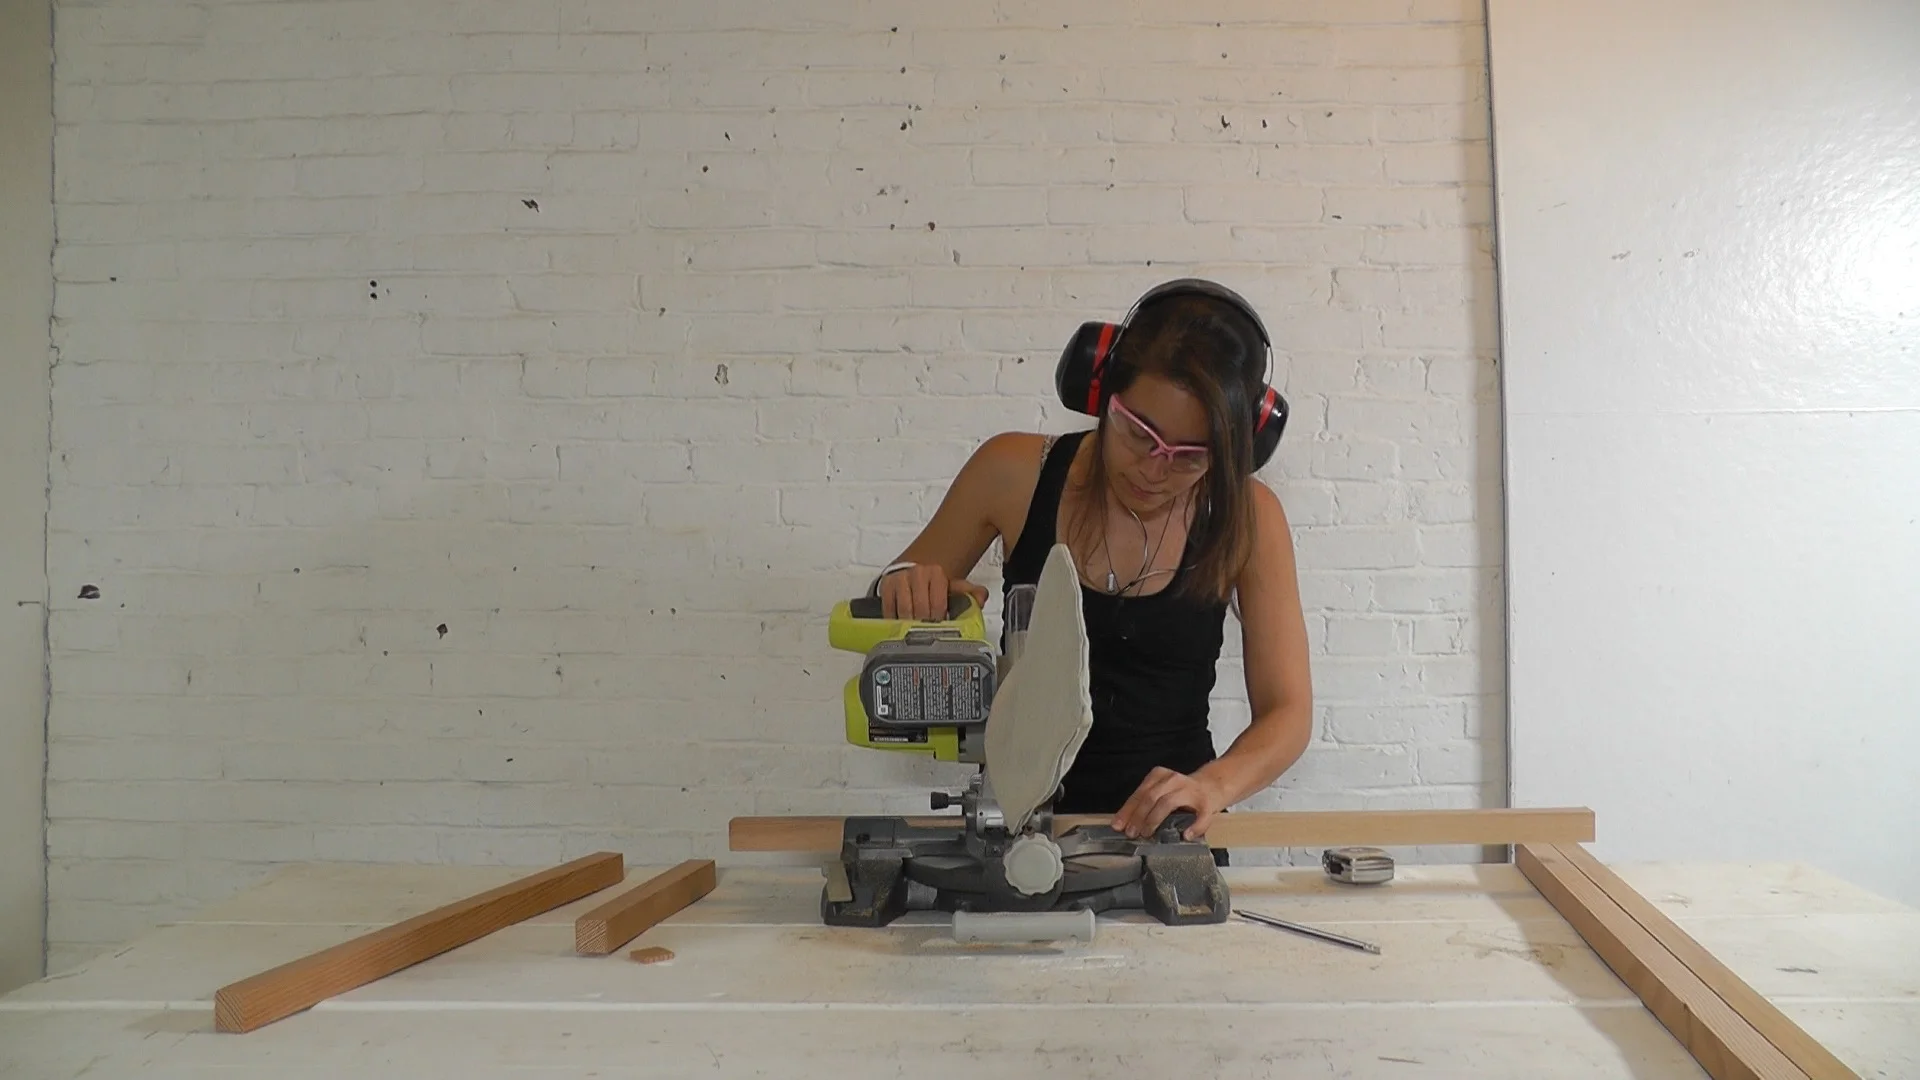
STEP 1: I used my chop saw to cut the balusters into 10 pieces: 2 @ 23⅝” (the length of the tile) and 8 @ 11⅝” (the width of the tile). These may seem like random measurements but if you measure the tile you’ll find that it comes up a bit shy of 12” x 24”. When working with a precut piece, it’s a good idea to measure it for it’s exact dimensions. I used a chop saw because it’s the fastest and easiest way to get a good straight cut. If you don’t have a chop saw, a circular saw will work just as well.
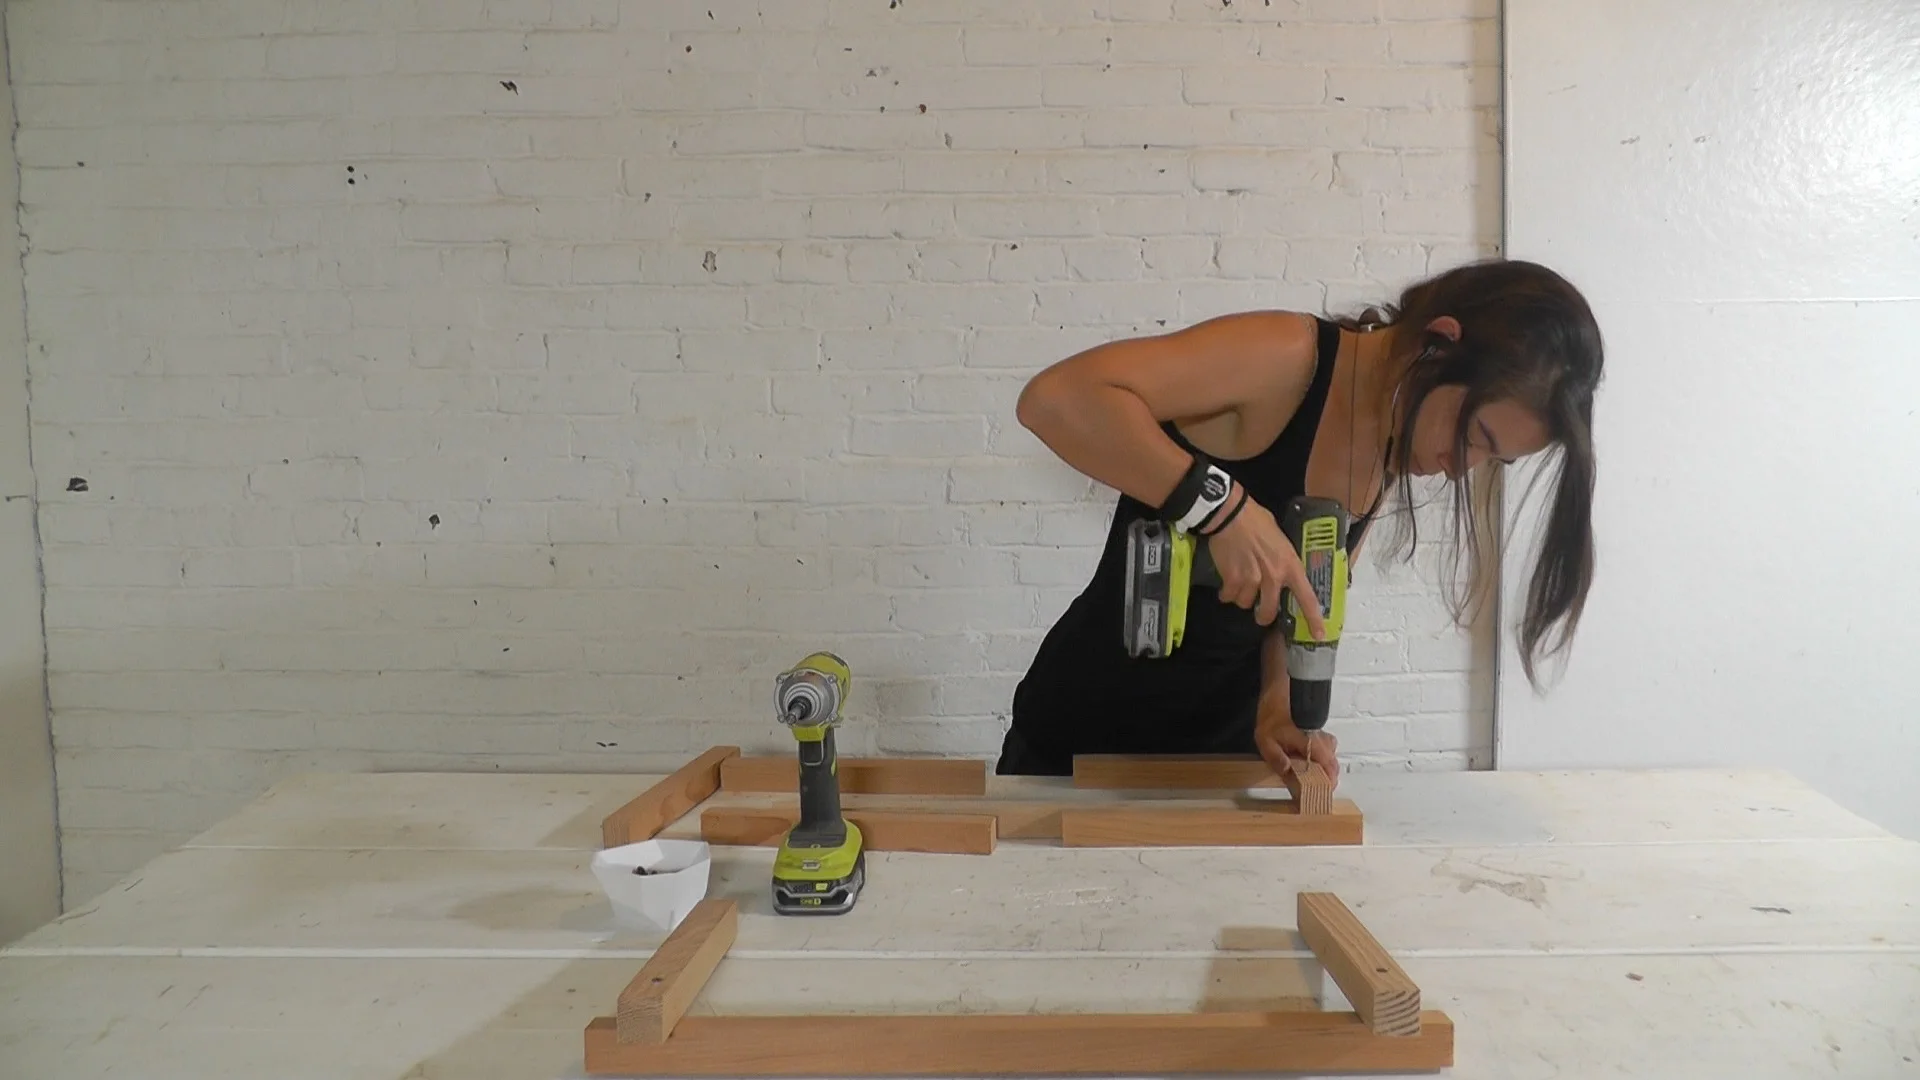
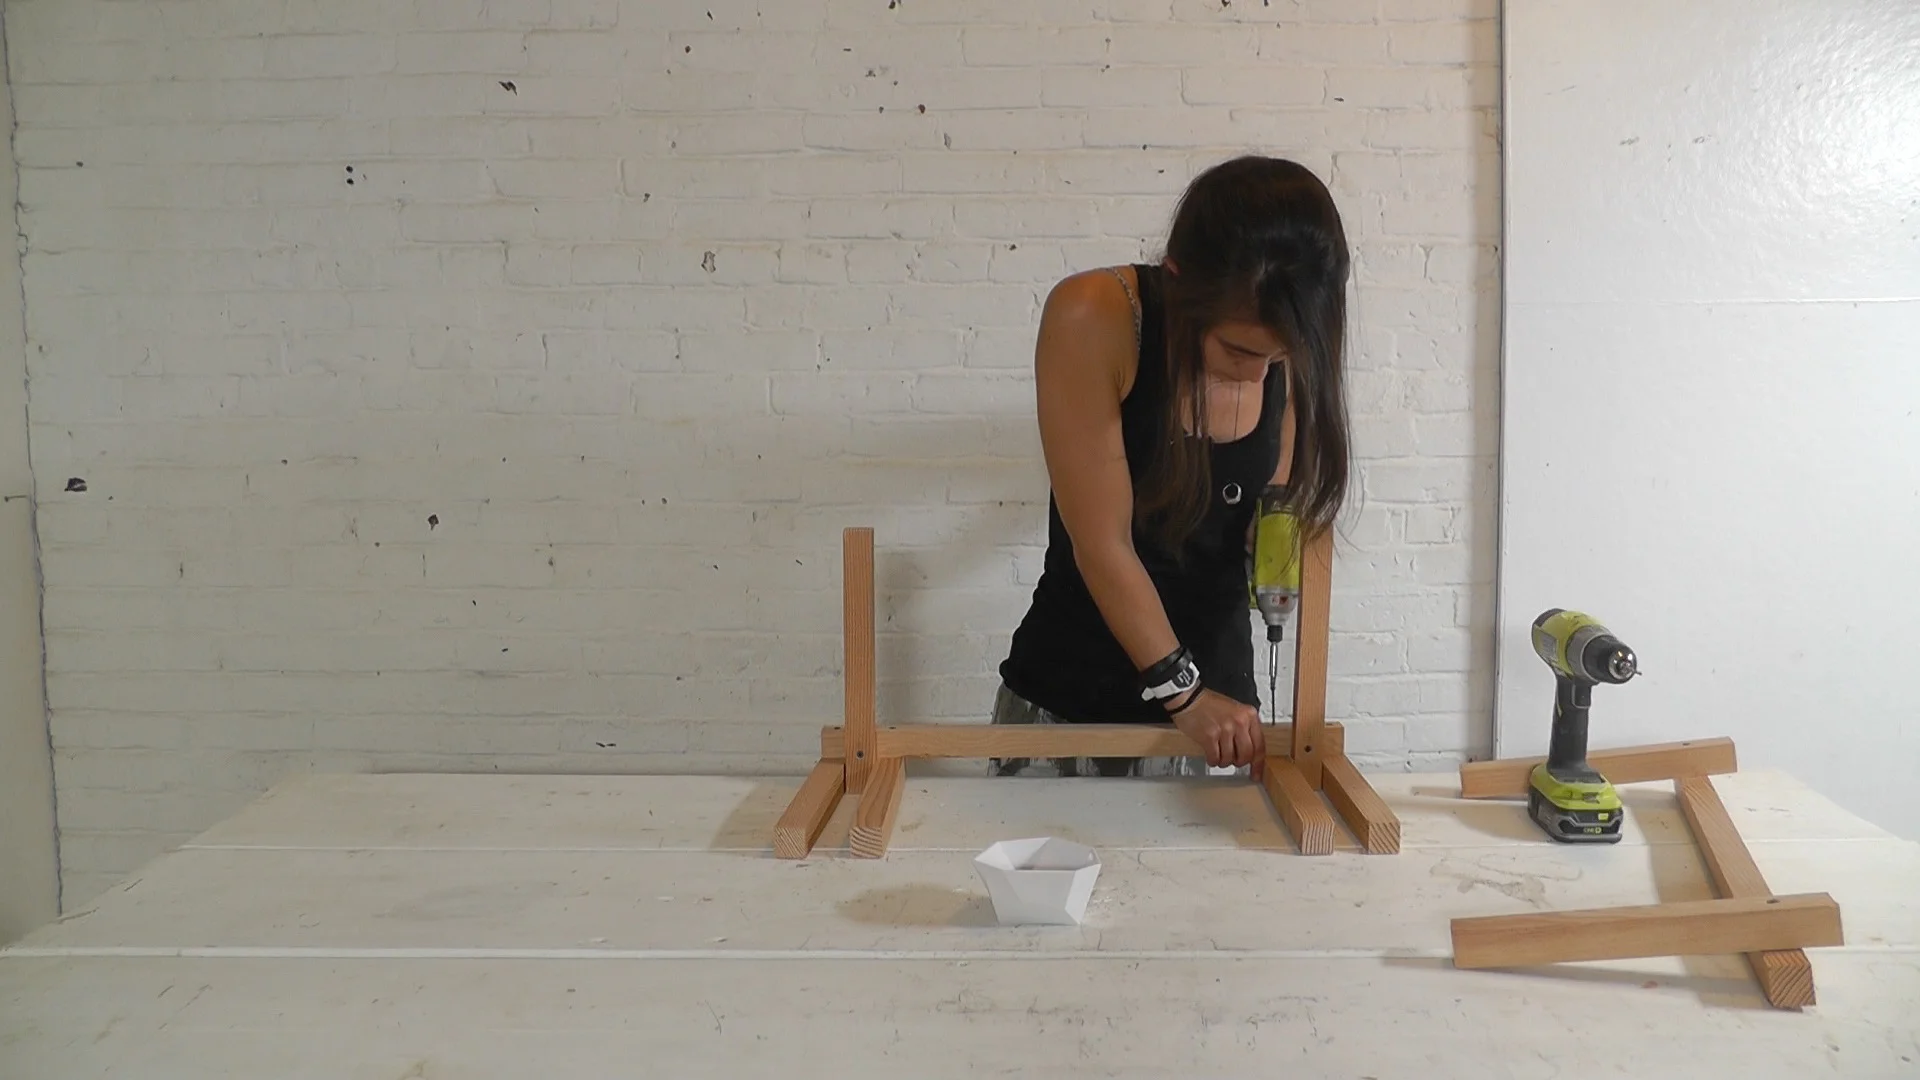
STEP 2: I pre-drilled holes before screwing the pieces together. The reason for this is the closer you get to the end of a piece of wood the more likely it is that a screw will split it. As long as the size of the drill bit is comparable to the gauge of the screw, you should be able to avoid this problem.
The balusters have a really strong grain, which is aesthetically pleasing, but it can also make it tricky to drill a straight hole. Pay extra attention to the angle at which you hold your drill.
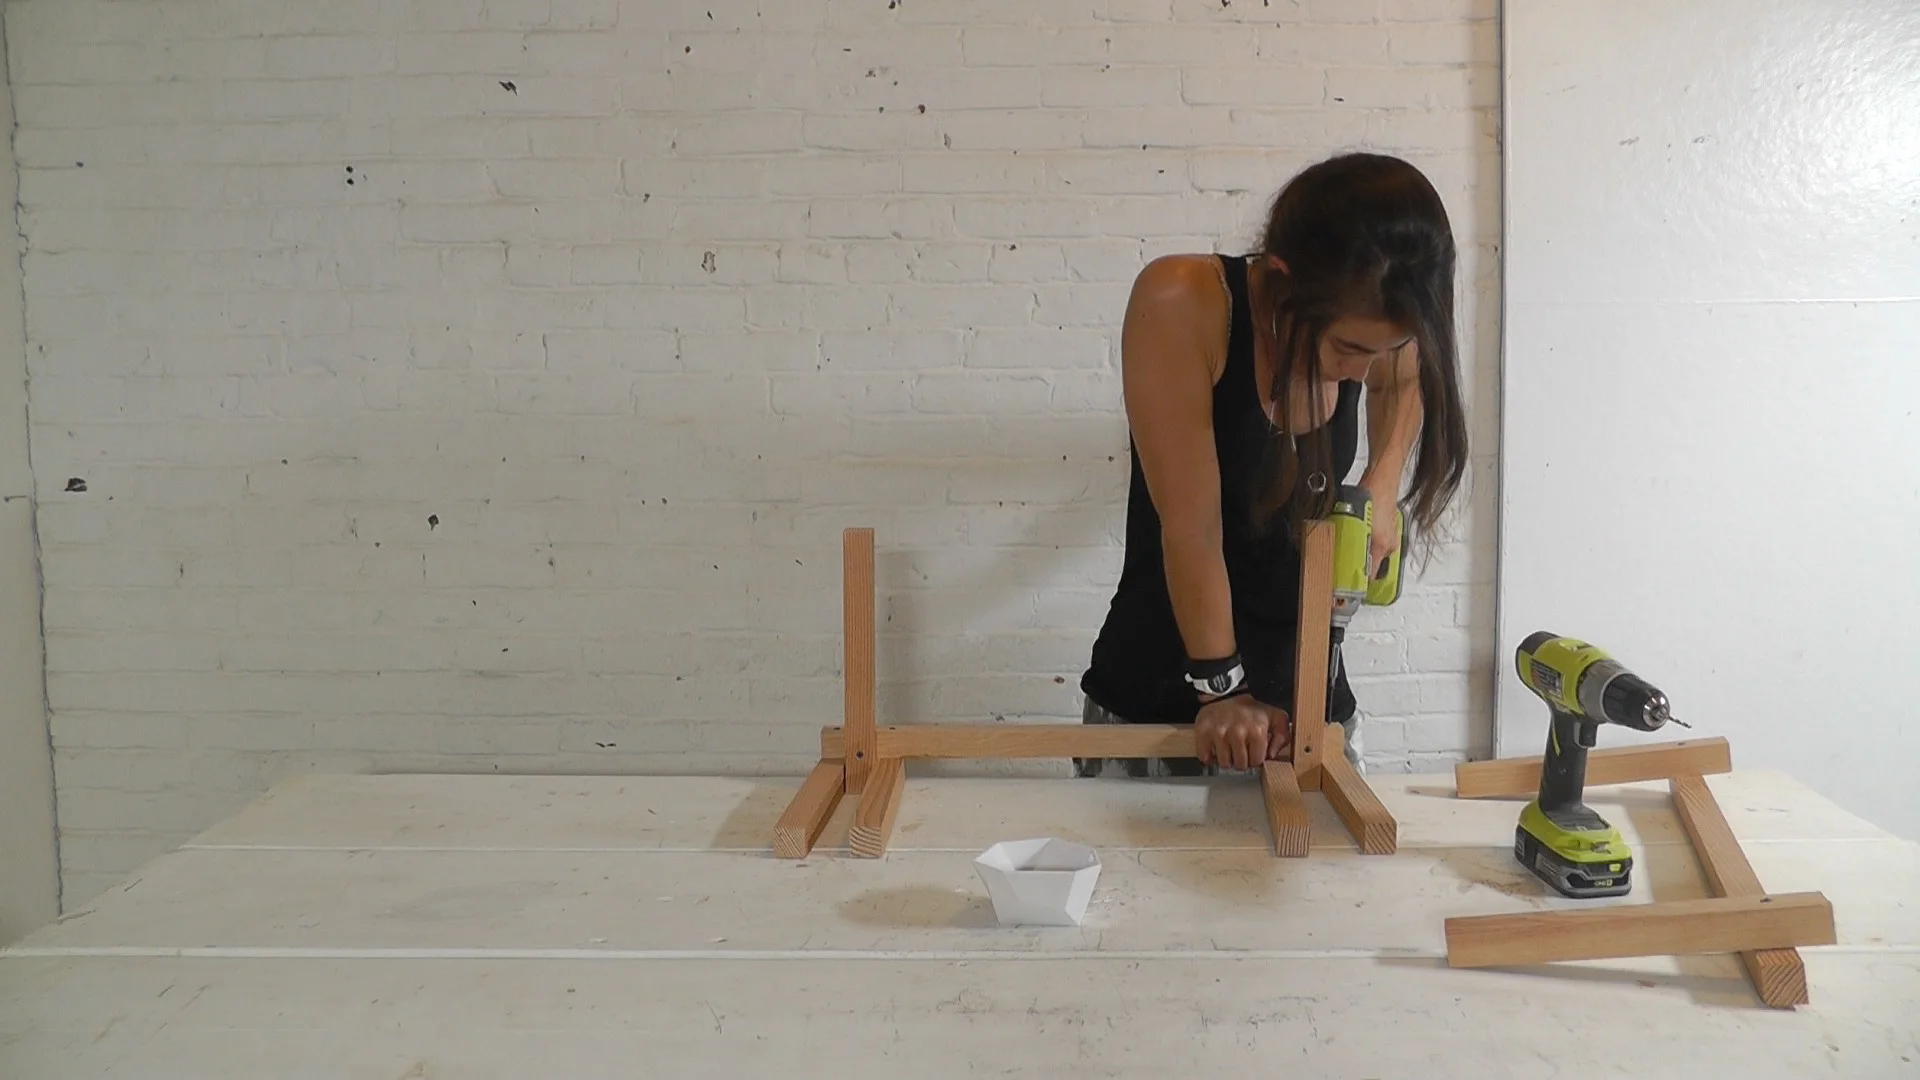
STEP 3: Make sure to hold the balusters in place while attaching them. They have a tendency to move out of position.
STEP 4: Place the tile atop the baluster legs and you’re finished. I didn’t feel the need to adhere the top to the legs but, if you prefer it to be a single unit, there are a couple options. I would use a hot glue gun because it’s fast and easy. Construction adhesive would hold better but it can be a bit messy.

